How to Print Calendars at Home (So They Actually Look Good)
Printable calendars have a specific way of disappointing people. On screen the colours are rich and the lines are crisp. Out of the printer, the page is a little washed out, a little thin, and by the second week on the fridge it has curled at the corners and gone soft where everyone keeps touching it.
Almost none of that is the design’s fault. It comes down to three things: the print settings, the paper, and — least often, despite what everyone assumes — the printer. Fix them in that order and a home-printed calendar looks like something you bought.
This guide walks through all three, plus the small supplies that make a printed calendar last the whole month. And there are three free November 2026 test calendars below, so you can print one as you go and see the difference for yourself.
Disclosure: This post contains affiliate links. If you buy through them I may earn a small commission at no extra cost to you. The calendars themselves are completely free, always.
The Quick Version
| Step | What to do | Why it matters |
|---|---|---|
| 1 | Print at Actual Size and set the paper type | Free, and fixes most problems |
| 2 | Use heavier paper than standard copy paper | Colour, sturdiness, no curling |
| 3 | Pick a printer by ink cost, not sticker price | Printables use a lot of colour |
| 4 | Write with fine-tip pens | Small boxes, no smudging |
| 5 | Hang it with something that won’t damage it | It has to survive a month |
Step 1: Get the Settings Right (This Part Is Free)
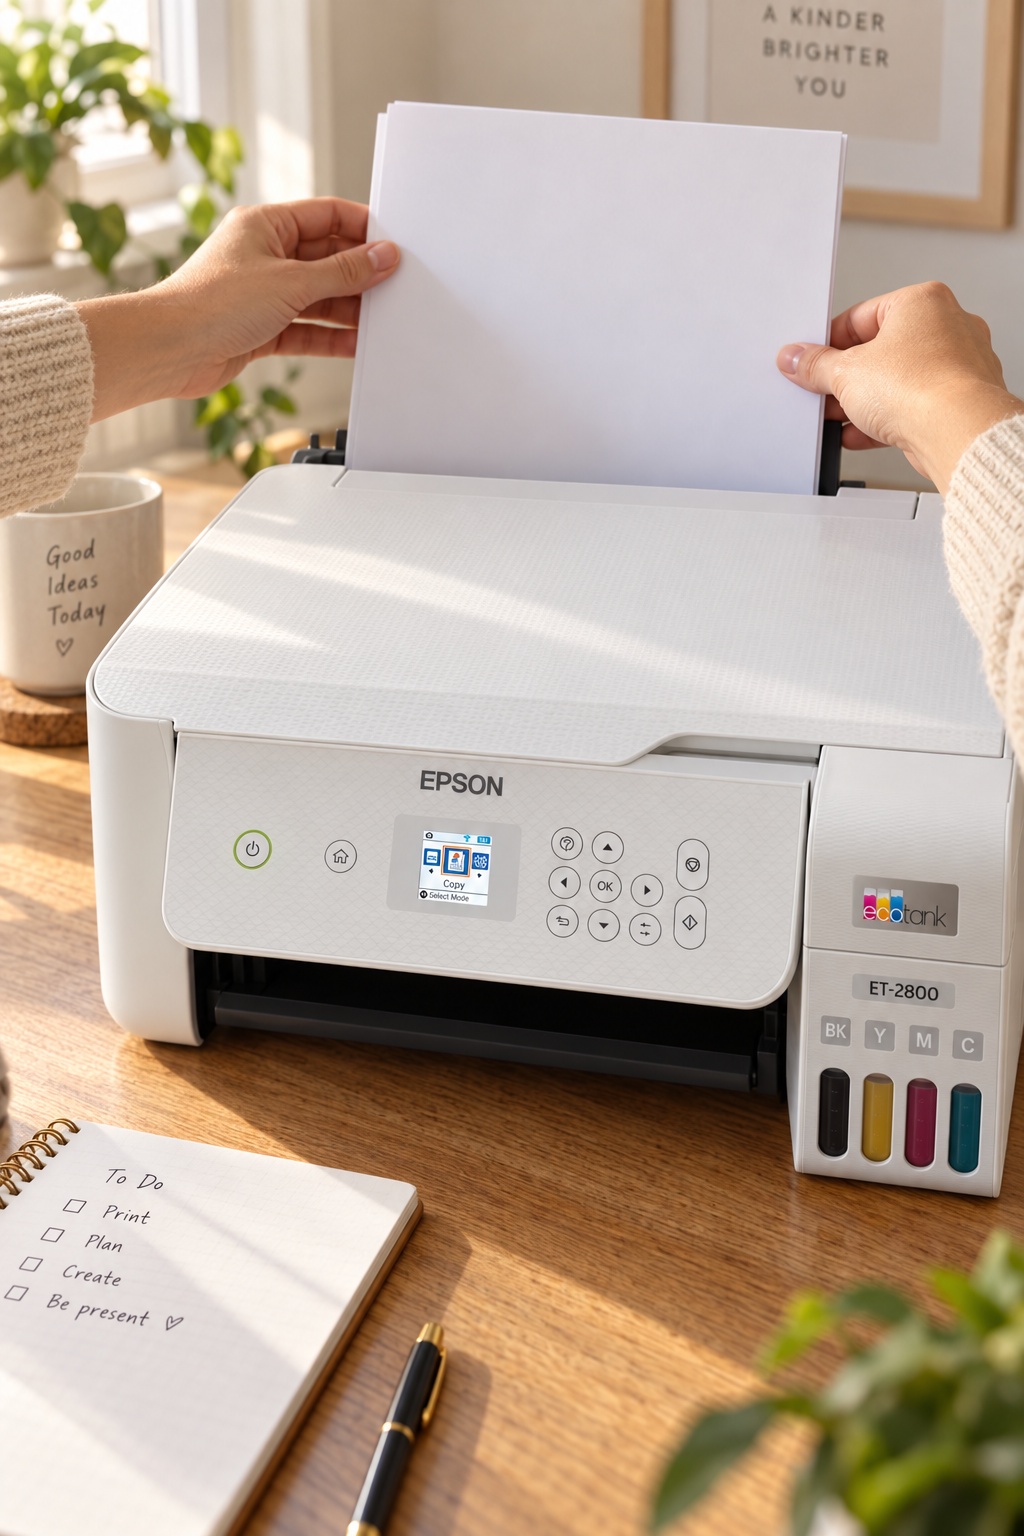
Before buying anything, change how you print. These settings fix more problems than any new equipment will.
- Print from PDF, not a screenshot or image preview. The PDF keeps the full resolution. A screenshot throws most of it away – technical tip: just download the image an open as PDF, on my site I always attach the calendars in maximal resolution without any compression/scaling.
- Choose Actual Size or 100% scale — never Fit to Page. Fit to Page shrinks the calendar slightly and makes the margins uneven.
- Set the paper type to match your paper. This is the most skipped setting and the most important one. If you load cardstock but leave the printer on “Plain Paper,” it uses the wrong amount of ink and the wrong feed. Look for options like Matte, Cardstock or Heavyweight.
- Choose High or Best quality for anything that goes on a wall or fridge.
- Portrait orientation, US Letter.
- Let it dry. Give inkjet prints five to ten minutes before you write on them or stack them, especially on thicker paper.
- Do a test on plain paper first if you are about to use your last few sheets of good paper.
Every calendar on this site is designed with a white margin around the edge, so it prints completely on any home printer. You do not need a borderless printer for any of them.
Print a Test Calendar Now
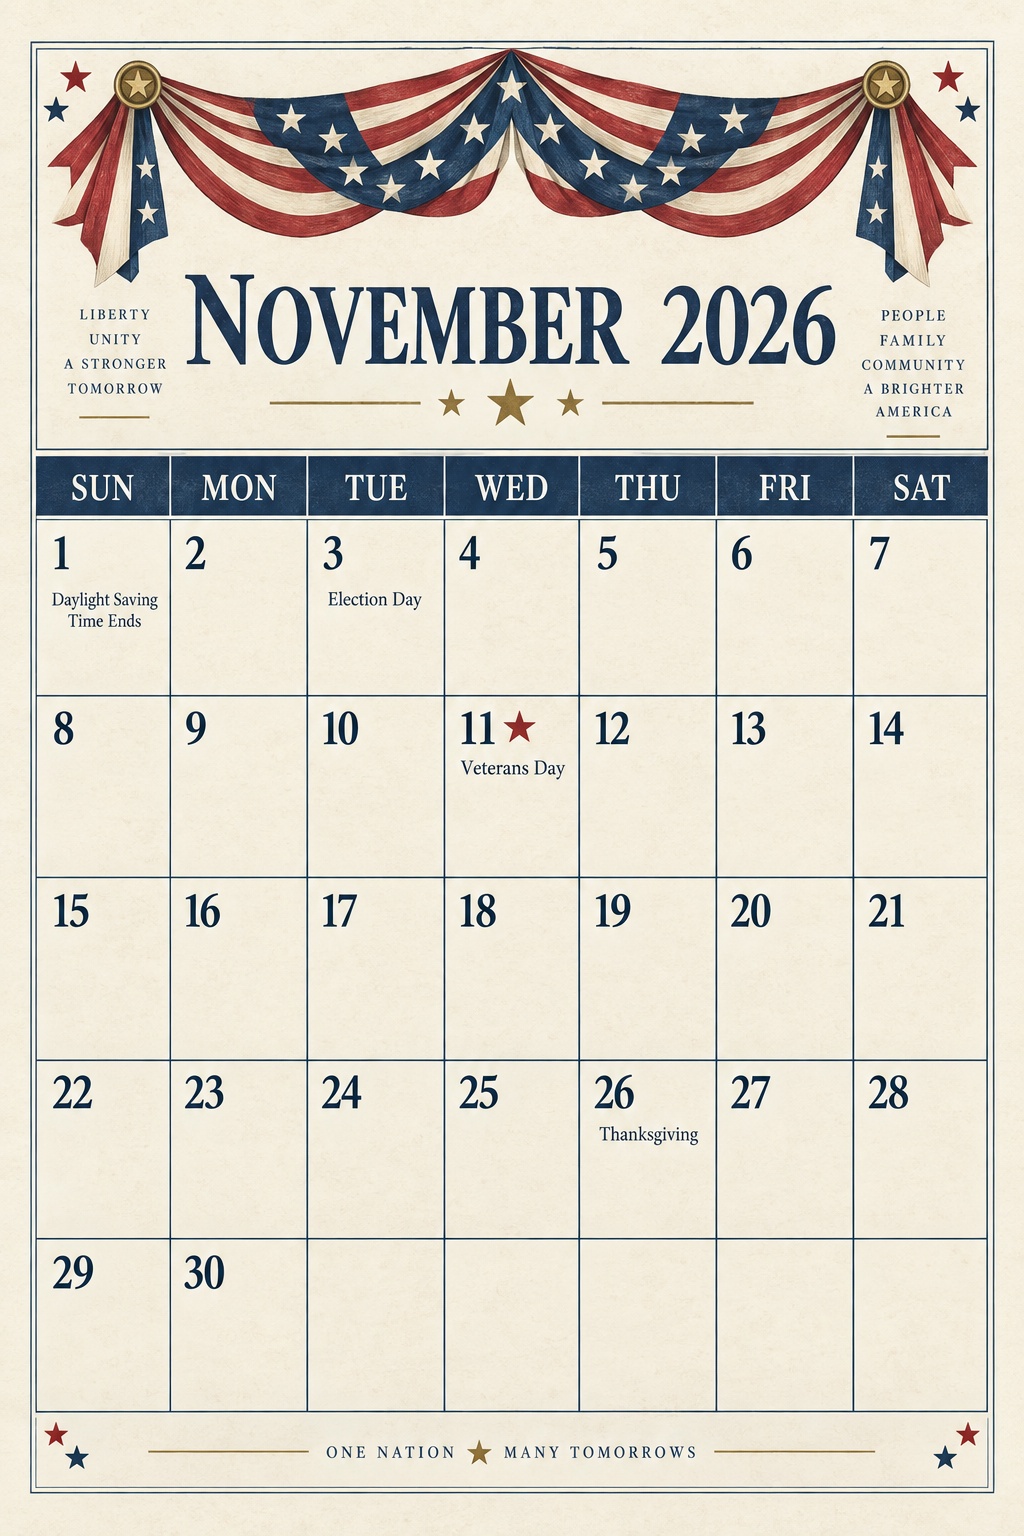
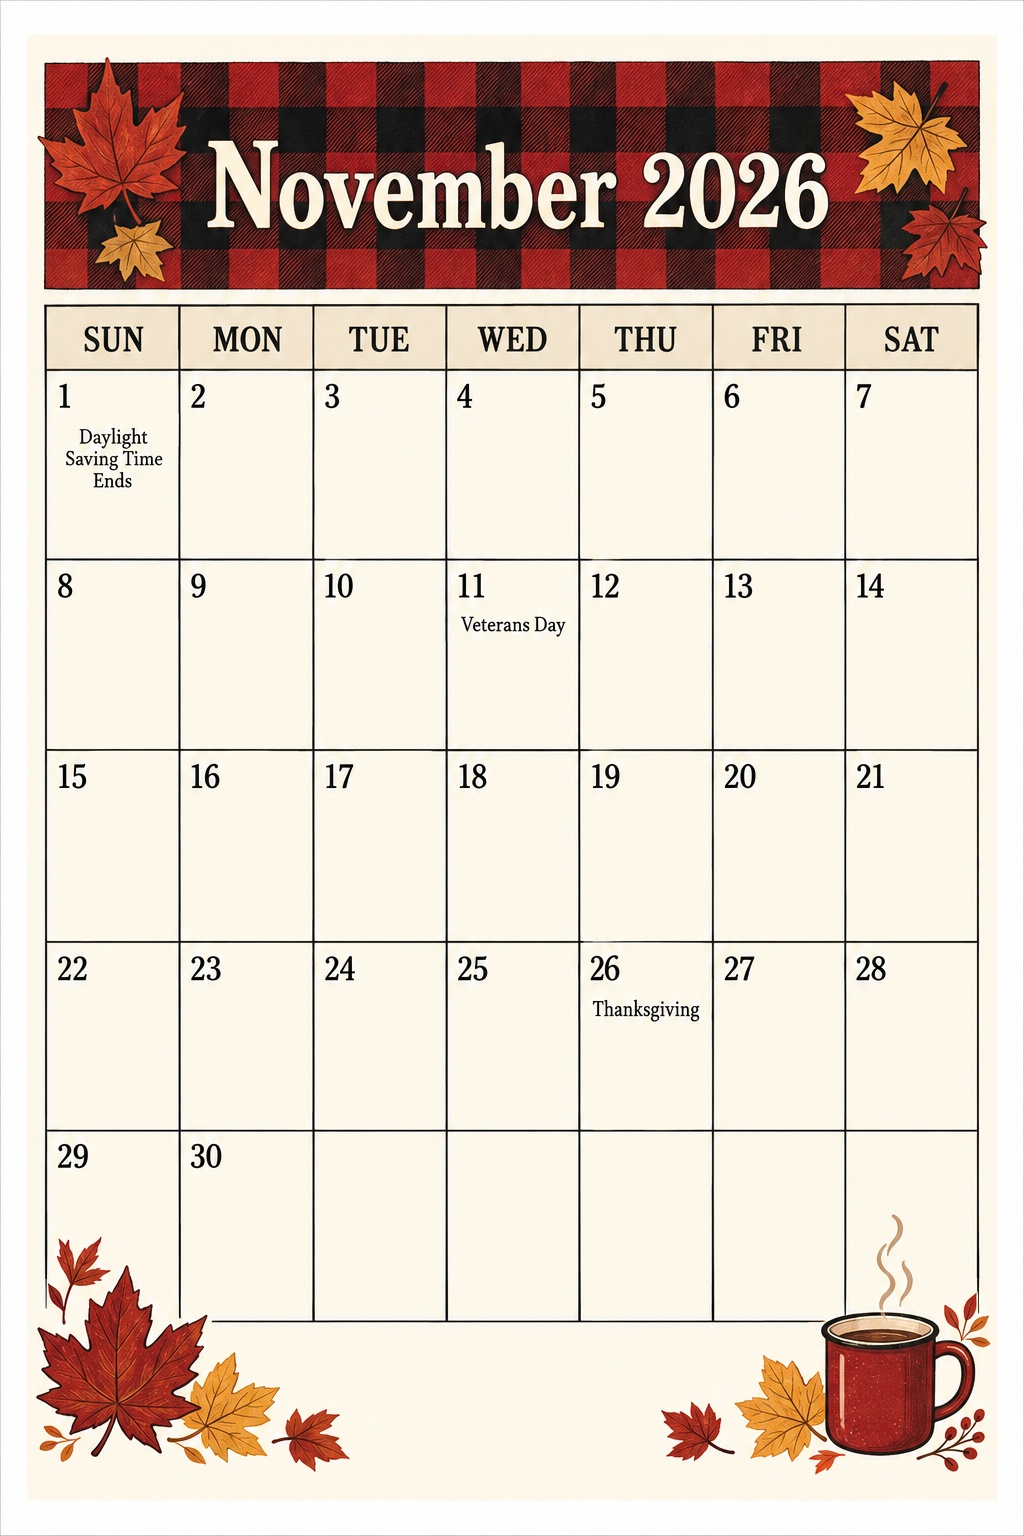
Here are three free November 2026 calendars in three very different styles. Print one with the settings above, then keep reading — the paper and pen sections will make a lot more sense with the page in your hand.
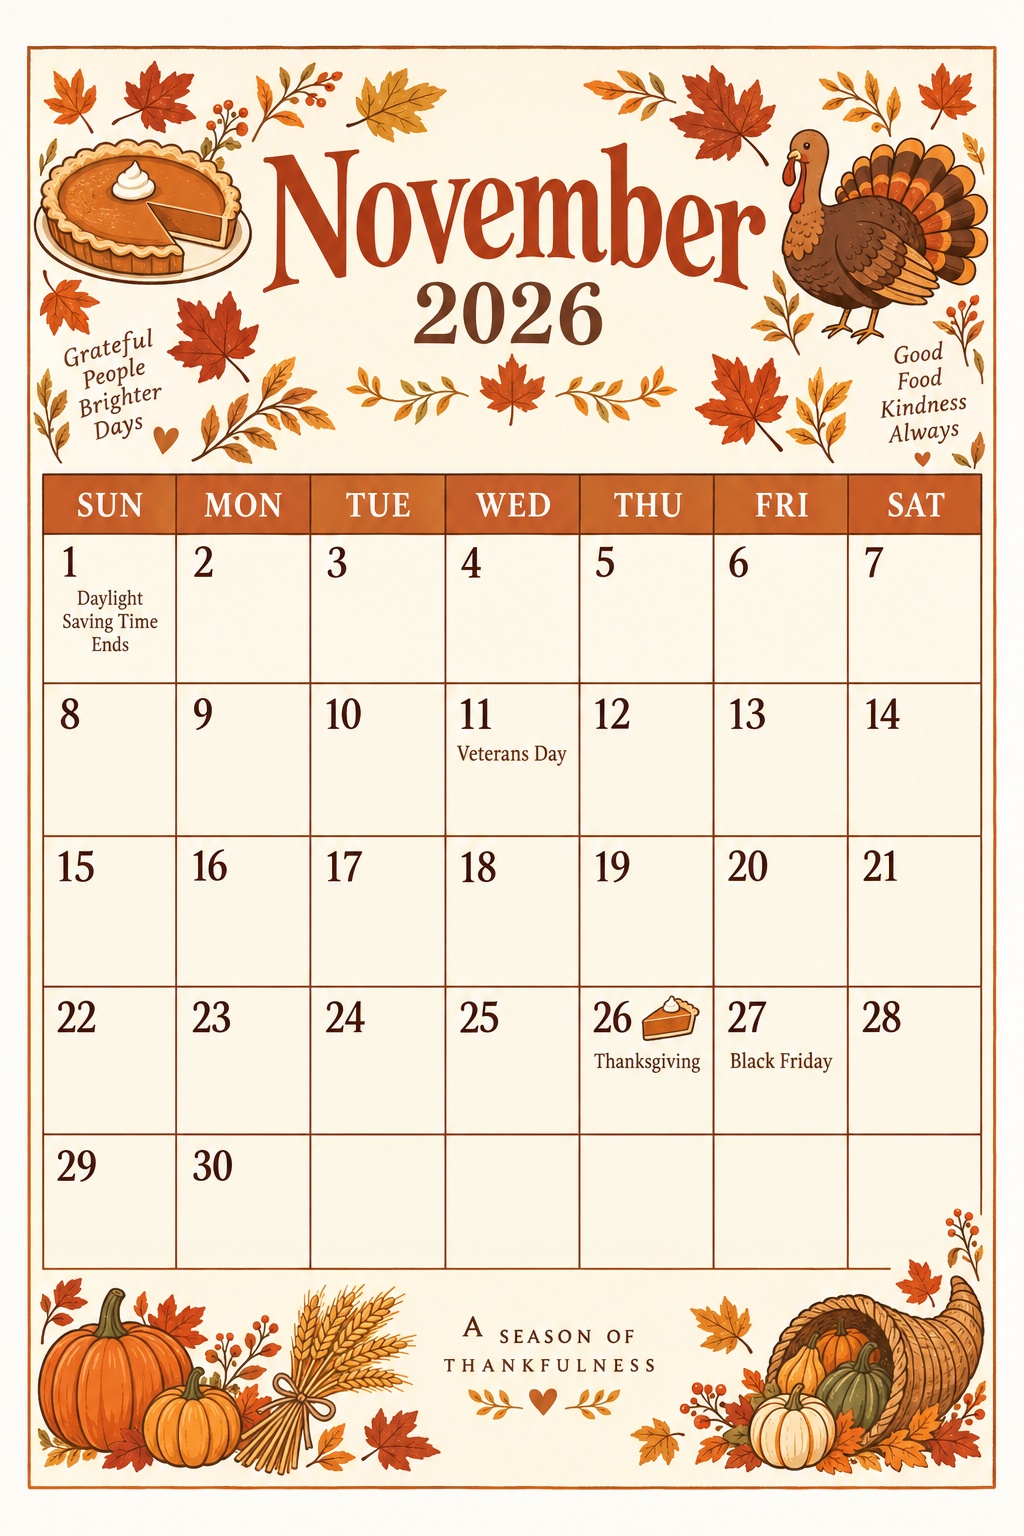
November 2026 starts on a Sunday and has 30 days, so every design fits into exactly five rows. Daylight saving time ends on the 1st, Election Day is the 3rd, Veterans Day is Wednesday the 11th, and Thanksgiving is Thursday the 26th.
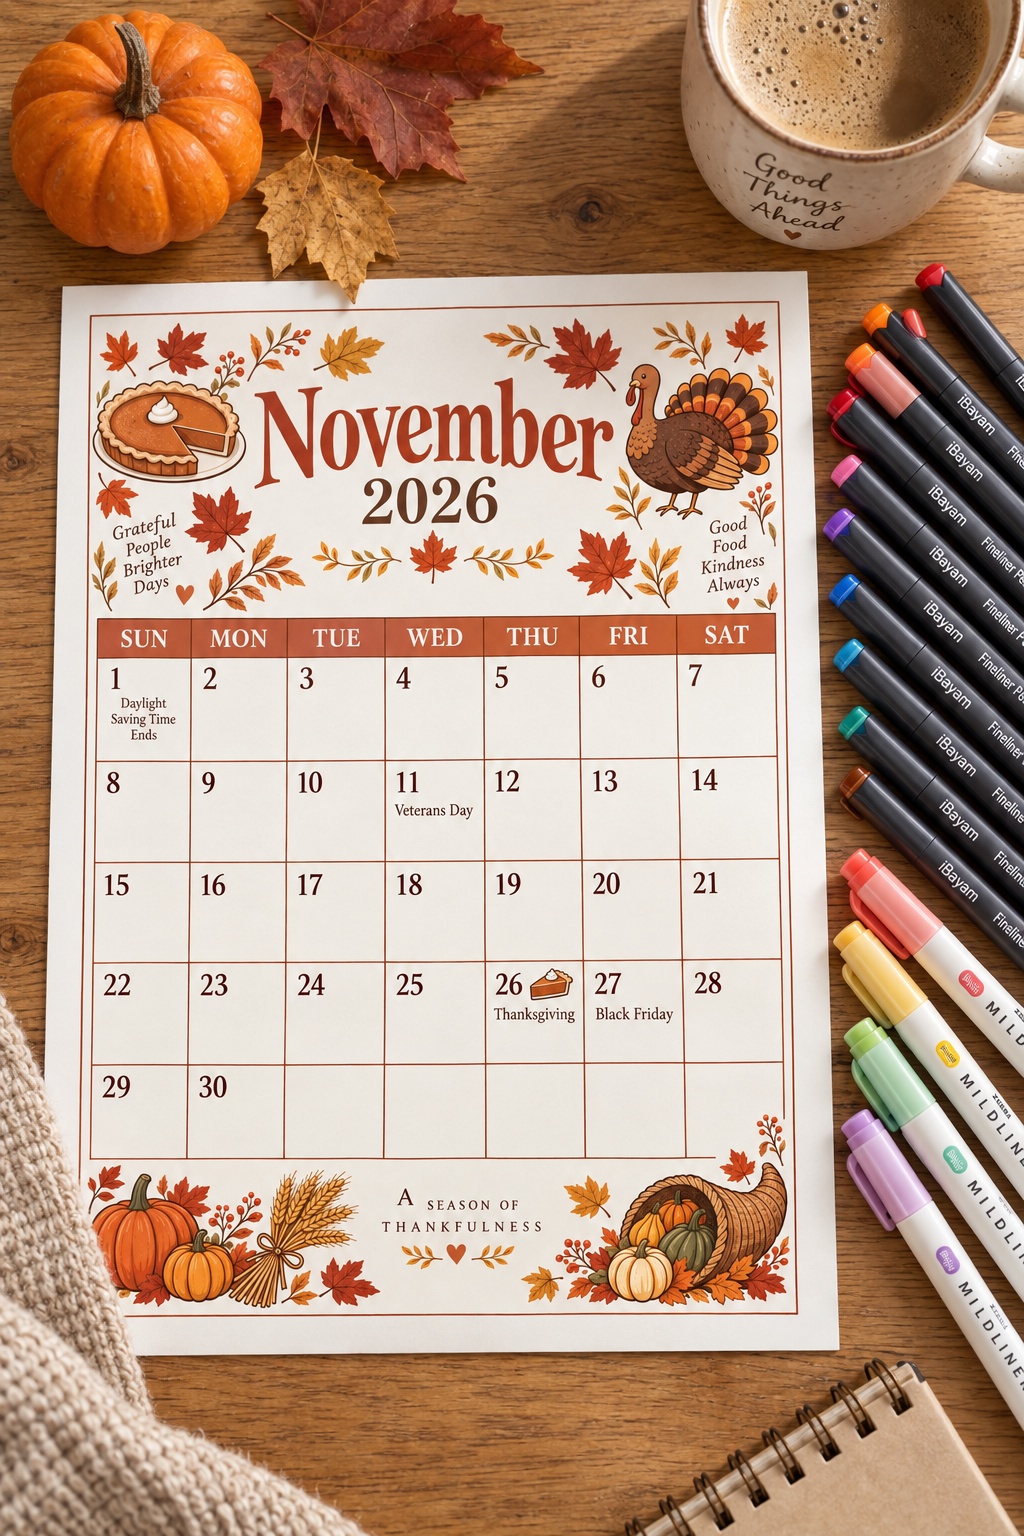
Thanksgiving Harvest
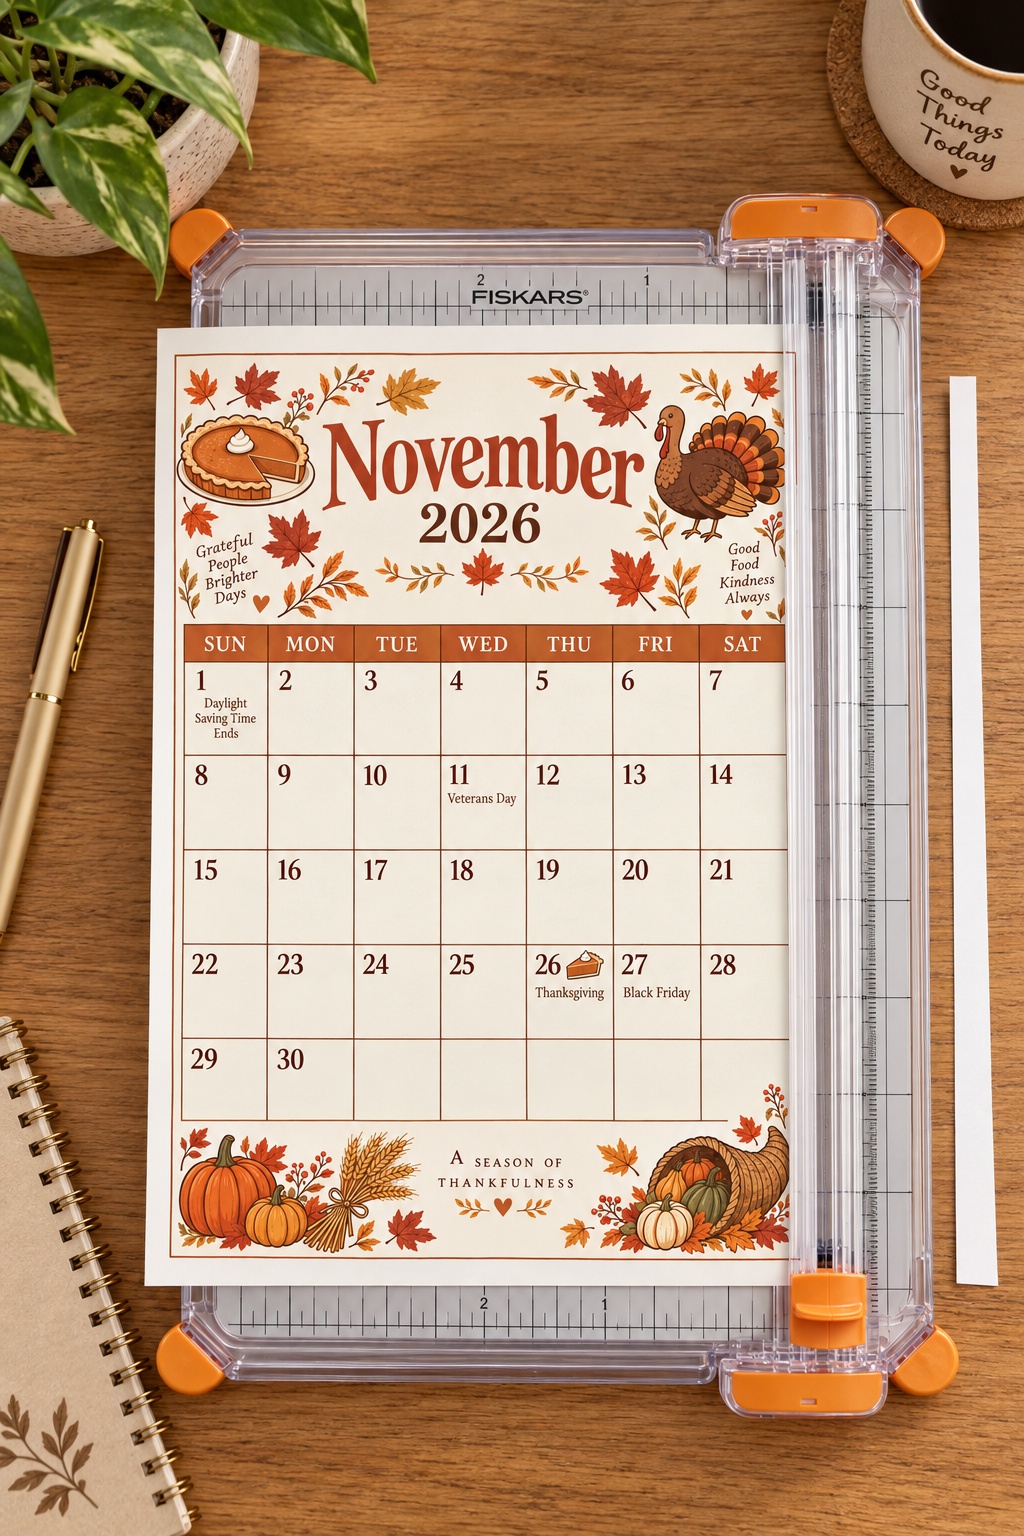
The classic American Thanksgiving calendar: warm cream with pumpkin orange, rust and golden wheat, and small illustrated details around the border — a pumpkin pie, a friendly little turkey, a cornucopia, a few falling leaves. The 26th gets its own small marker, because the whole month is really building toward that Thursday.
It is the one to print for the fridge if you are cooking this year. Work backwards from the 26th and the shopping, prep and guest list fall into place.
Americana
Vintage Americana in navy, brick red and antique cream, with a subtle stars-and-stripes bunting across the top and small scattered stars in the corners. It is patriotic without being loud, and it carries the whole month rather than just one day.
Veterans Day on the 11th gets a small star marker. This is a lovely one for a family command centre, a classroom, or anyone who wants November to feel a little more rooted.
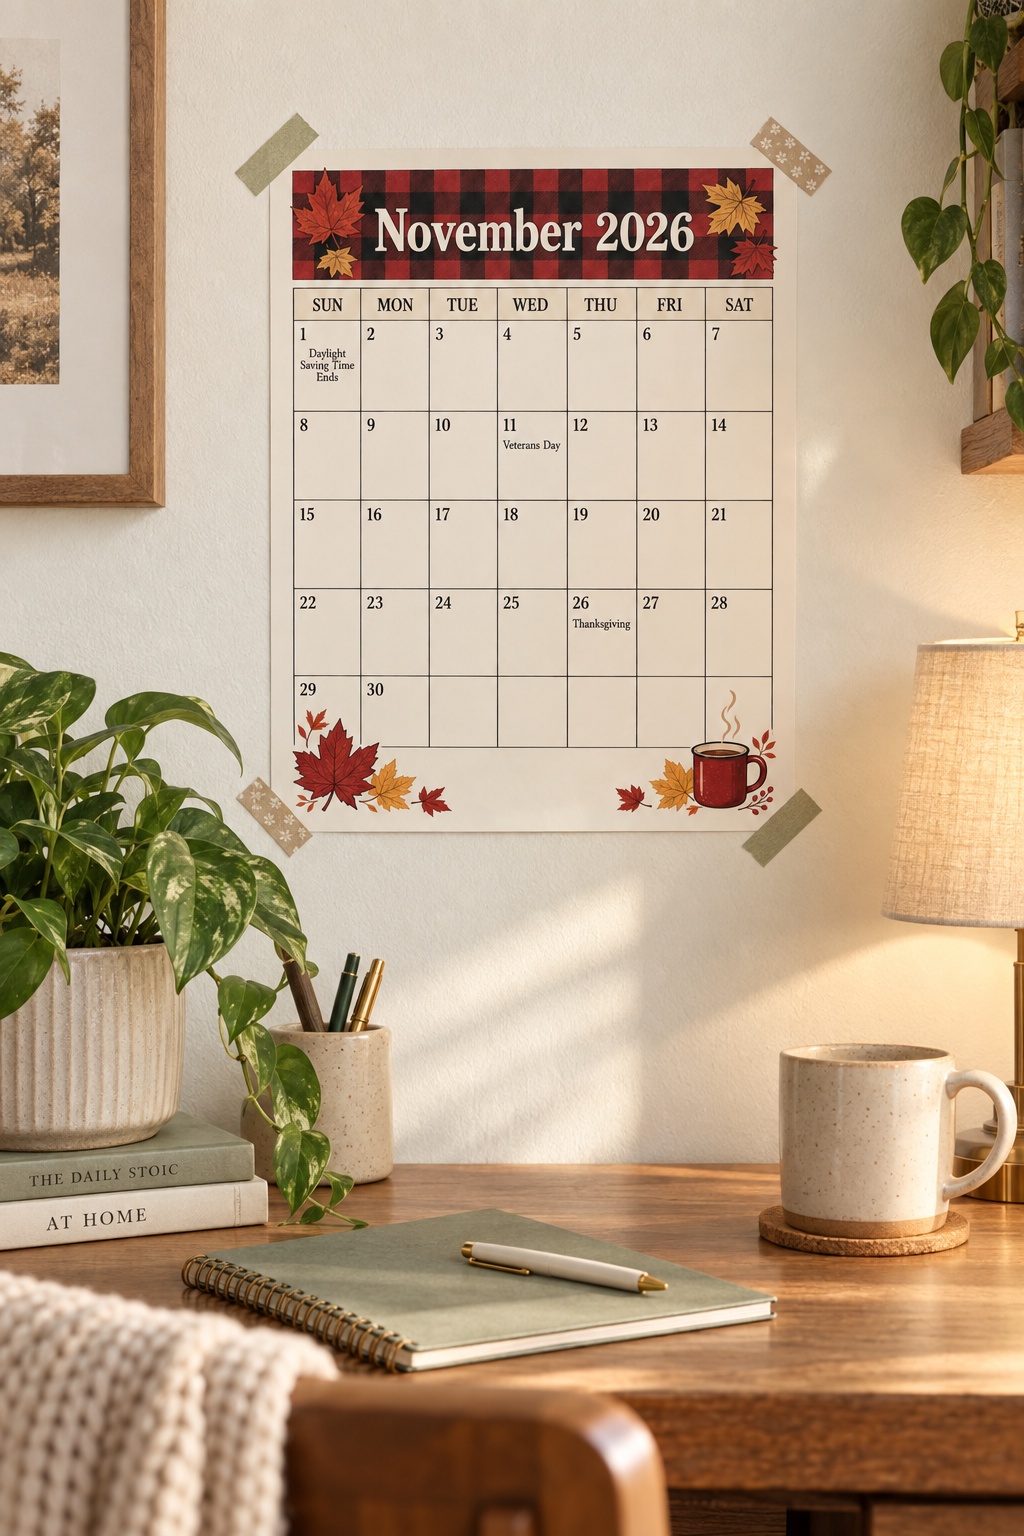
Buffalo Plaid Autumn
Cozy farmhouse autumn: a band of red and black buffalo check across the top, a few rust and gold maple leaves, a small steaming mug in the corner, and plenty of cream space. It has no holiday in it at all, which makes it the most versatile of the three — it looks just as right on the 30th as on the 1st.
This is the one for a desk, a planner binder or a wall above a workspace.
Want more? There are five more November designs in this warm seasonal set, and every free calendar lives in the freebies and downloads section.
Step 2: Use Better Paper (The Biggest Difference Per Dollar)
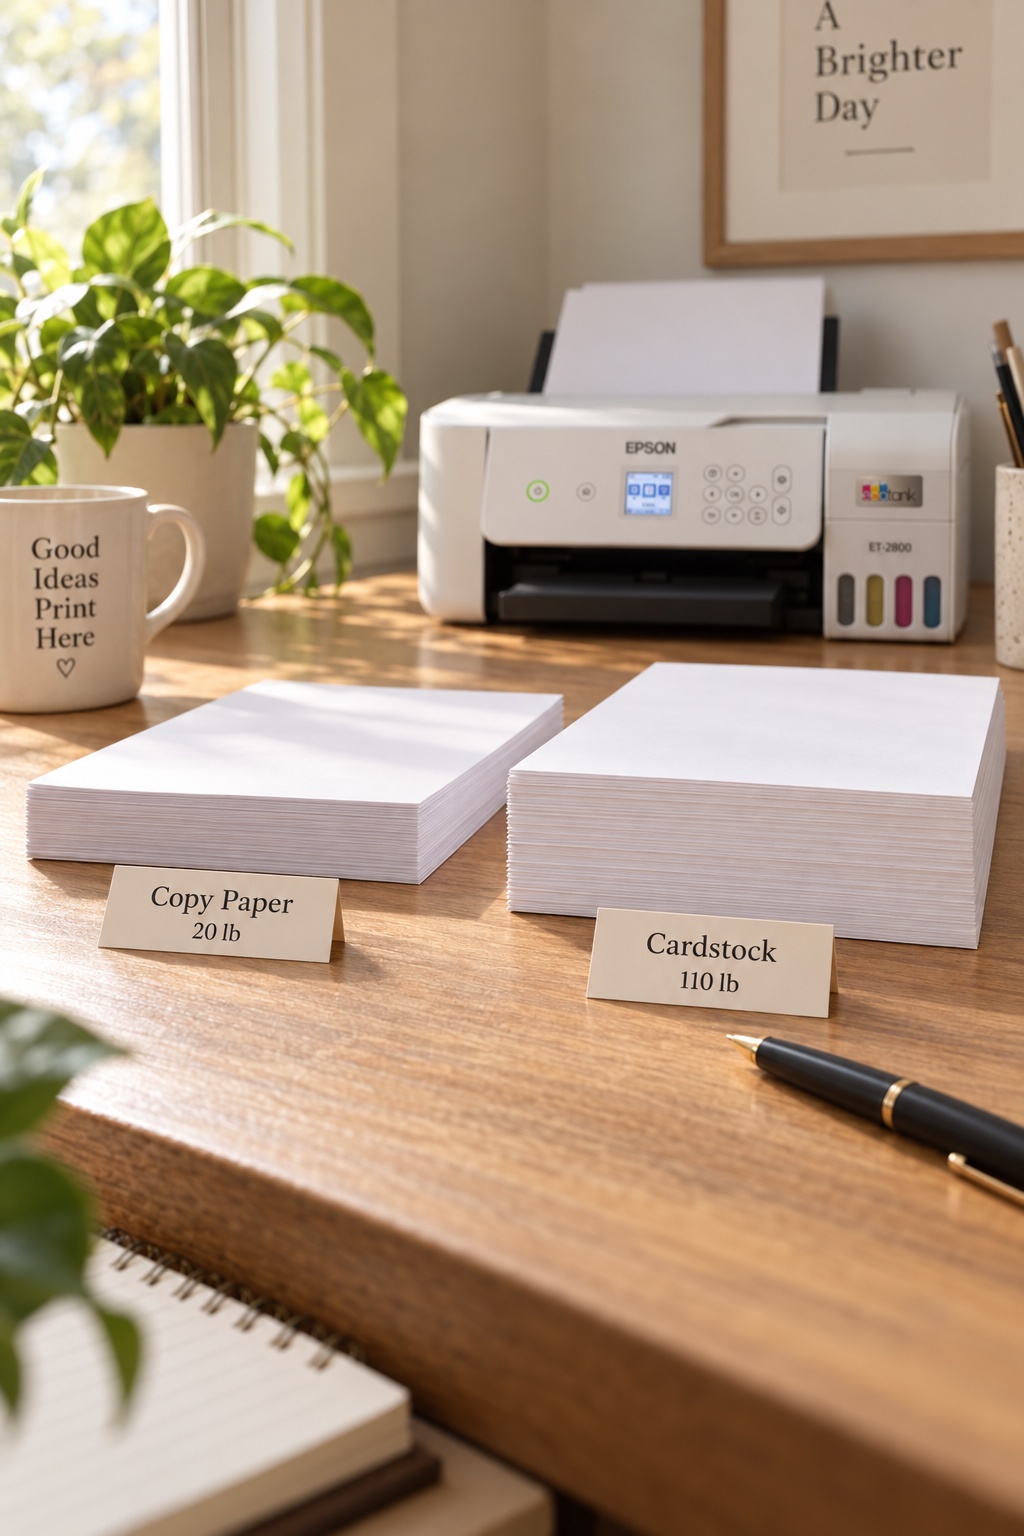
If you change only one physical thing, change the paper. Standard copy paper is thin and slightly grey, so colours look flat and the page gives up quickly once it is handled every day.
First, a Quick Word on Paper Weights
Paper weights are confusing because the “pound” number depends on the category of paper, not just its thickness. A 110 lb cover sheet and a 110 lb index sheet are very different things. The only number that compares honestly is gsm (grams per square metre).
| Label | Roughly | Feels like |
|---|---|---|
| 20 lb bond | 75 gsm | Everyday copy paper |
| 32 lb bond | 120 gsm | Premium, noticeably heavier |
| 65 lb cover | 176 gsm | Light cardstock |
| 110 lb index | 199 gsm | Sturdy card that most home printers still accept |
| 110 lb cover | 300 gsm | Thick card — jams many home printers |
Before buying heavy paper, look up your printer’s maximum supported paper weight in gsm. It is in the manual or on the manufacturer’s spec page, and it will save you a jam.
The Everyday Option: 32 lb Premium Paper
For a desk calendar or a planner binder, you do not need cardstock. You need paper that is brighter and a little heavier than copy paper. Hammermill Premium Color Copy 32 lb is made for exactly this: 100 brightness, a very smooth surface, and designed specifically for colour printing.
The brightness is what you will notice first. Colours that looked muddy on standard paper come out clean, and white areas actually look white. It feeds through essentially any home printer without complaint.
→ Check the Hammermill 32 lb Premium Paper on Amazon
The Sturdy Option: 110 lb Index Cardstock
For anything going on a fridge, a pinboard or a wall, use cardstock. It holds a magnet, takes pen without ghosting through, and still looks crisp at the end of the month.
The detail that matters: buy 110 lb Index, not 110 lb Cover. They sound nearly identical, but cover stock is about a third thicker again, and many home printers will jam on it or refuse to feed it at all. This 110 lb Index white cardstock sits in the range most home printers can handle.
Look for a smooth finish rather than textured. Textured card is lovely for invitations, but it breaks up fine lines and small numbers — exactly what a calendar is made of.
→ Check the 110 lb Index Cardstock on Amazon
Step 3: Choose a Printer by Its Ink, Not Its Price
Here is the thing most printer advice skips. Cheap cartridge printers are cheap because the ink is expensive. Printables are colour-heavy, so a low-priced cartridge printer can end up costing more in ink over a year than the printer did.
Ink tank printers reverse that: more expensive to buy, but refilled from bottles, so each page costs a fraction of a cartridge print. If you print calendars, planners or any printables every month, a tank printer is almost always the better deal over time.
Both picks below are Epson EcoTank models for that reason.
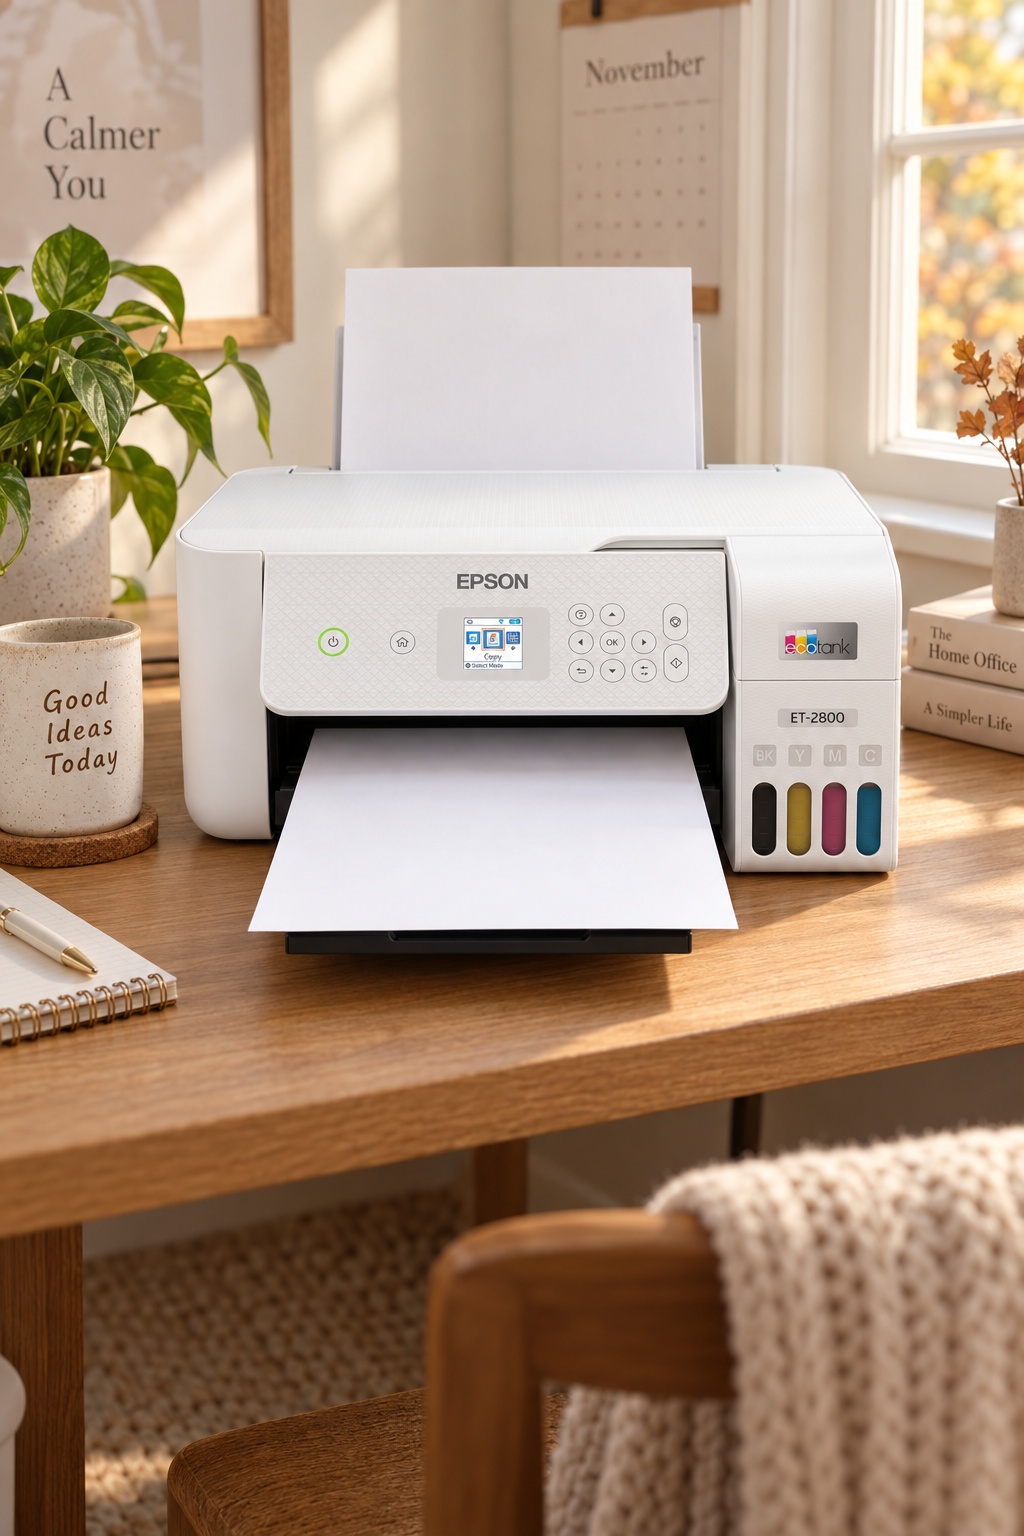
The Mid-Range Pick: Epson EcoTank ET-2800
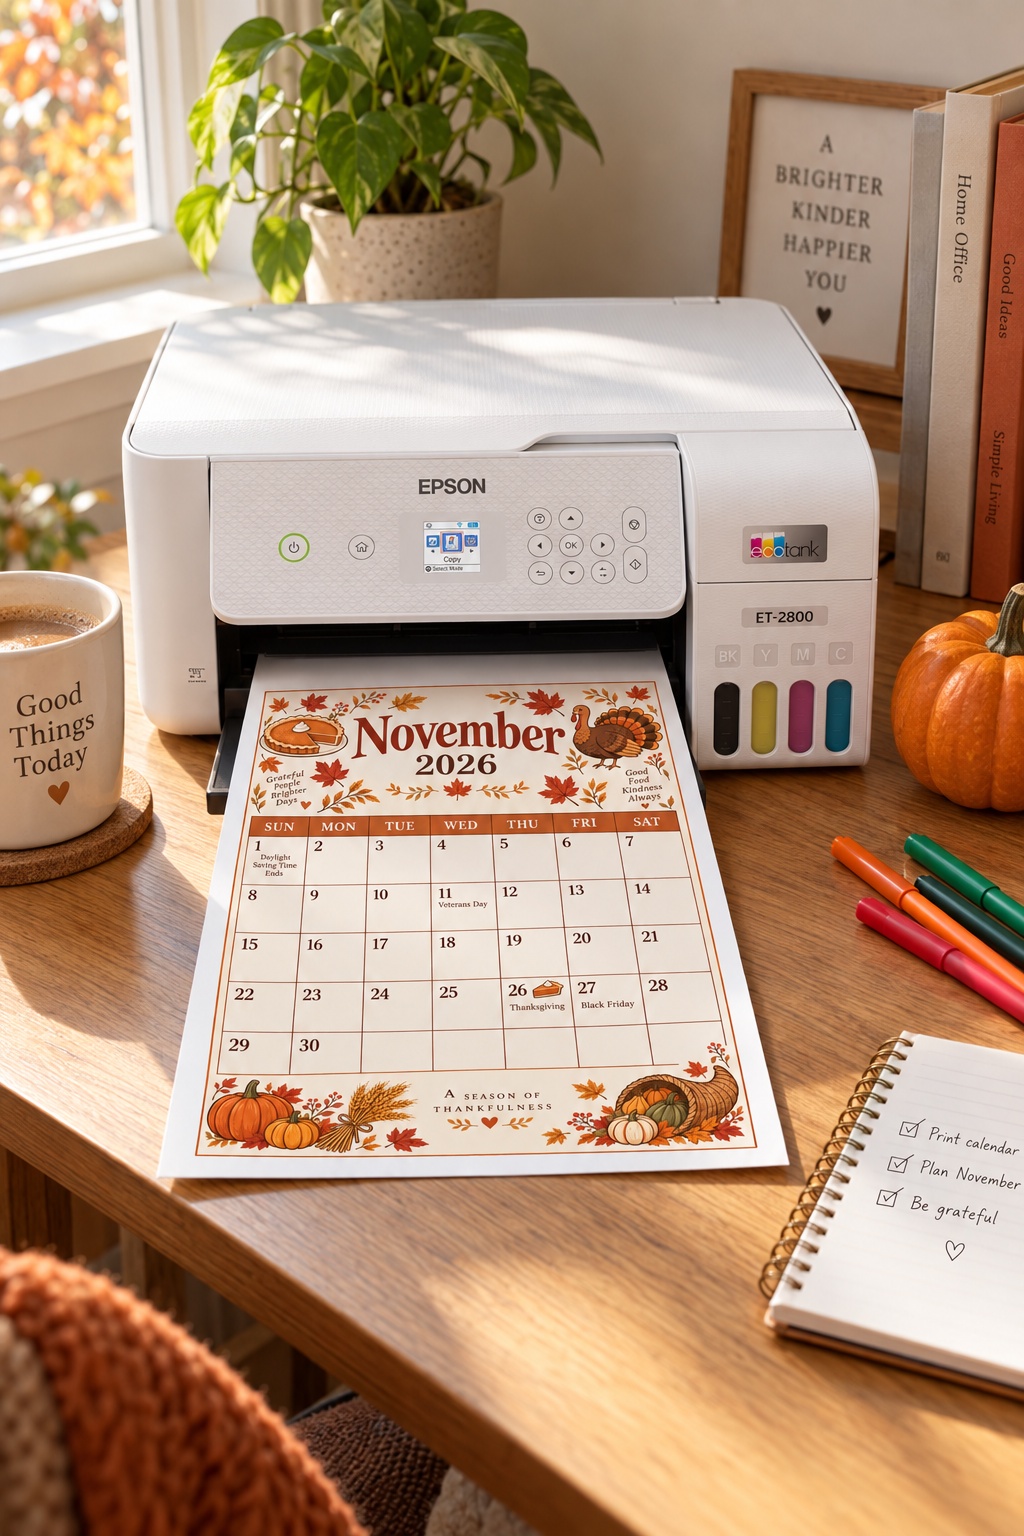
The Epson EcoTank ET-2800 is the straightforward entry into tank printing: print, scan and copy, wireless, four colours, and refillable ink bottles instead of cartridges. Epson rates the bottles in the box at up to 4,500 black and 7,500 colour pages.
It is the right choice if you print regularly but not constantly — a monthly calendar, some planner pages, the occasional school form.
The honest limitations: there is no automatic two-sided printing, it is not fast on colour pages, and it does not have the dedicated straight-through feed for thick card that the next pick does. For 32 lb paper it is perfect. For heavy cardstock, check the supported paper weights before loading anything thick.
→ Check the Epson EcoTank ET-2800 on Amazon
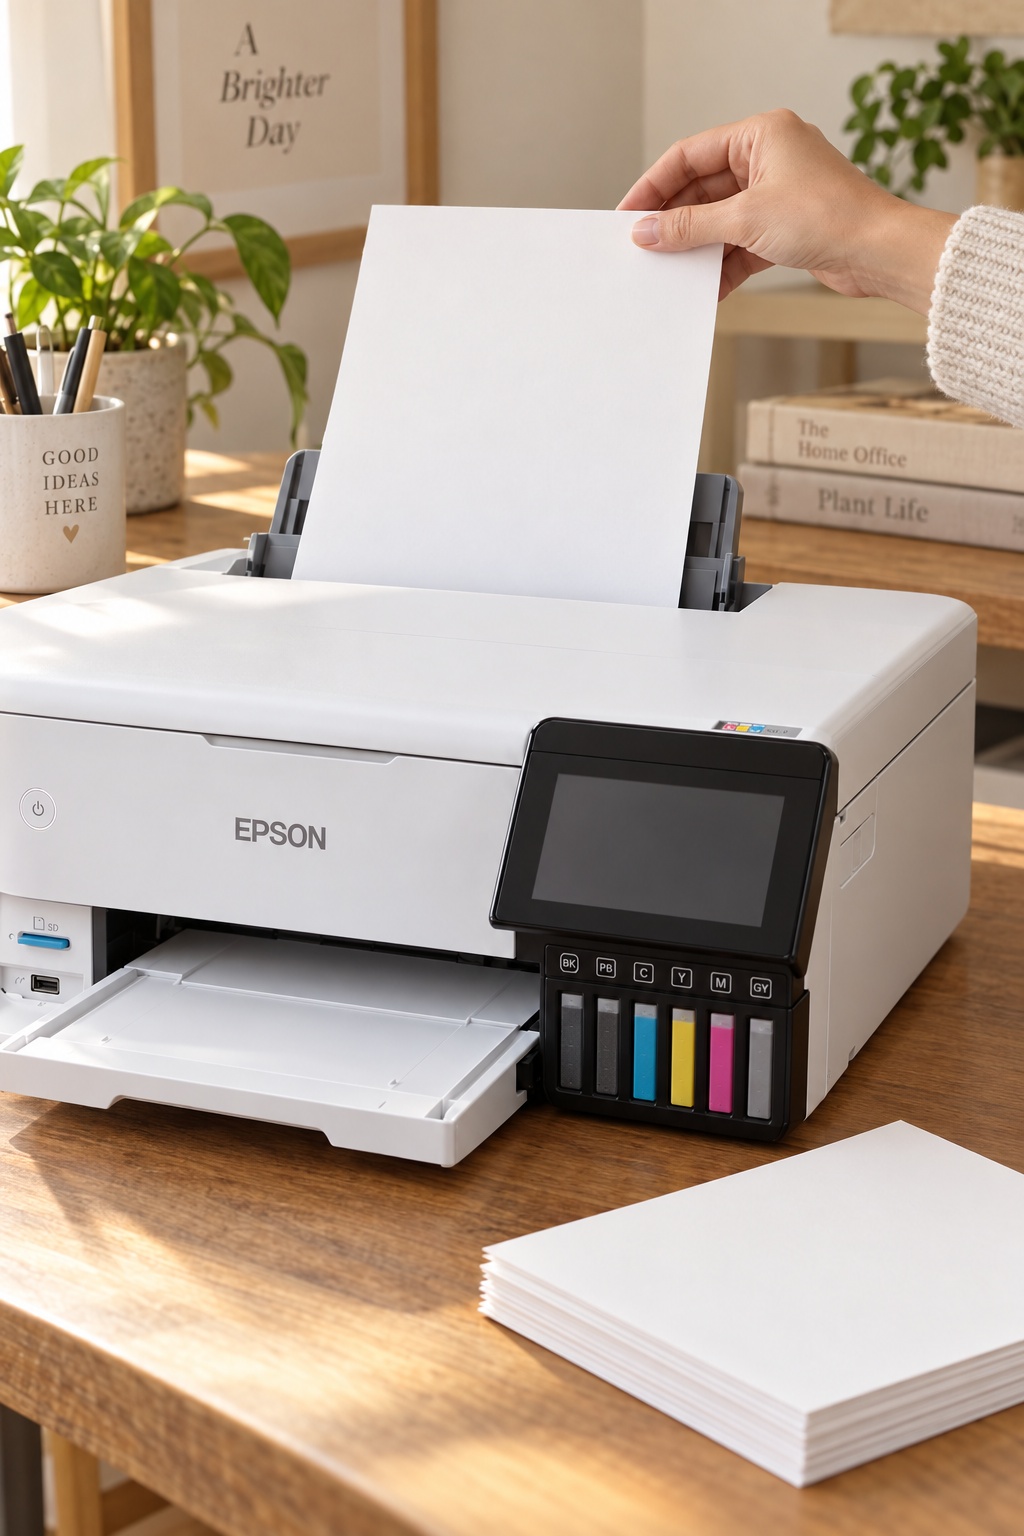
The Splurge Pick: Epson EcoTank Photo ET-8500
If printables are a regular thing in your house, this is where I would spend. The Epson EcoTank Photo ET-8500 is the pick specifically because of two features that matter for calendars and planners.
Six-colour ink instead of four. The extra colours make a visible difference in soft tones — the warm neutrals, muted greens and dusty pinks that most printable designs are made of. Gradients look smoother and colours look closer to the screen.
A rear feed for thick paper. It has a separate straight-through rear slot for cardstock and thick media, which is the thing cheaper printers struggle with. It also prints two-sided automatically and has a 4.3-inch touchscreen.
The honest trade-off: thick card goes through the rear slot one sheet at a time, and some owners find that feed takes a bit of practice to get straight. It is a more capable machine rather than a simpler one, and it costs considerably more up front. If you print a calendar a month and nothing else, the ET-2800 is the sensible choice. If you print planners, cards, photos and printables regularly, the ET-8500 is the one I would pick.
A practical note for both: inkjet printers of any kind are happiest when they are used. Printing something every week or two keeps the print head from drying out.
And if the printer needs a home on a small desk, these small desk setup ideas cover making room for it.
→ Check the Epson EcoTank Photo ET-8500 on Amazon
Step 4: Write With the Right Pens
A printed calendar only works if you actually write on it, and the most common reason people stop is mundane: a ballpoint skips on smooth paper, a regular marker bleeds through, and everything written in one colour of biro becomes hard to read at a glance.
For writing: fine-tip fineliners. A 0.38mm tip fits neatly inside a small date box without smudging. This 24-colour fineliner set uses water-based ink with minimal bleed-through, and having that many colours lets you give every person or category its own.
For highlighting: soft dual-tip highlighters. Zebra Mildliners are the planner-world favourite for a reason: muted, pastel colours that mark a date without shouting, and a fine tip on the other end for writing. On a calendar, a soft highlight across a whole box is the quickest way to mark birthdays, deadlines or a trip.
A simple system that works: one fineliner colour per person, and one highlighter colour per type of event. It takes ten seconds to set up and makes the whole month readable from across the room.
On inkjet prints, give the page a few minutes to dry fully before writing over printed areas, or the ink can smear.
→ Check the Fineliner Set on Amazon → Check the Zebra Mildliners on Amazon
Step 5: Hang It Somewhere It Will Survive a Month
A calendar that falls off the fridge every time the door closes does not get used. Both of these are cheap and damage-free.
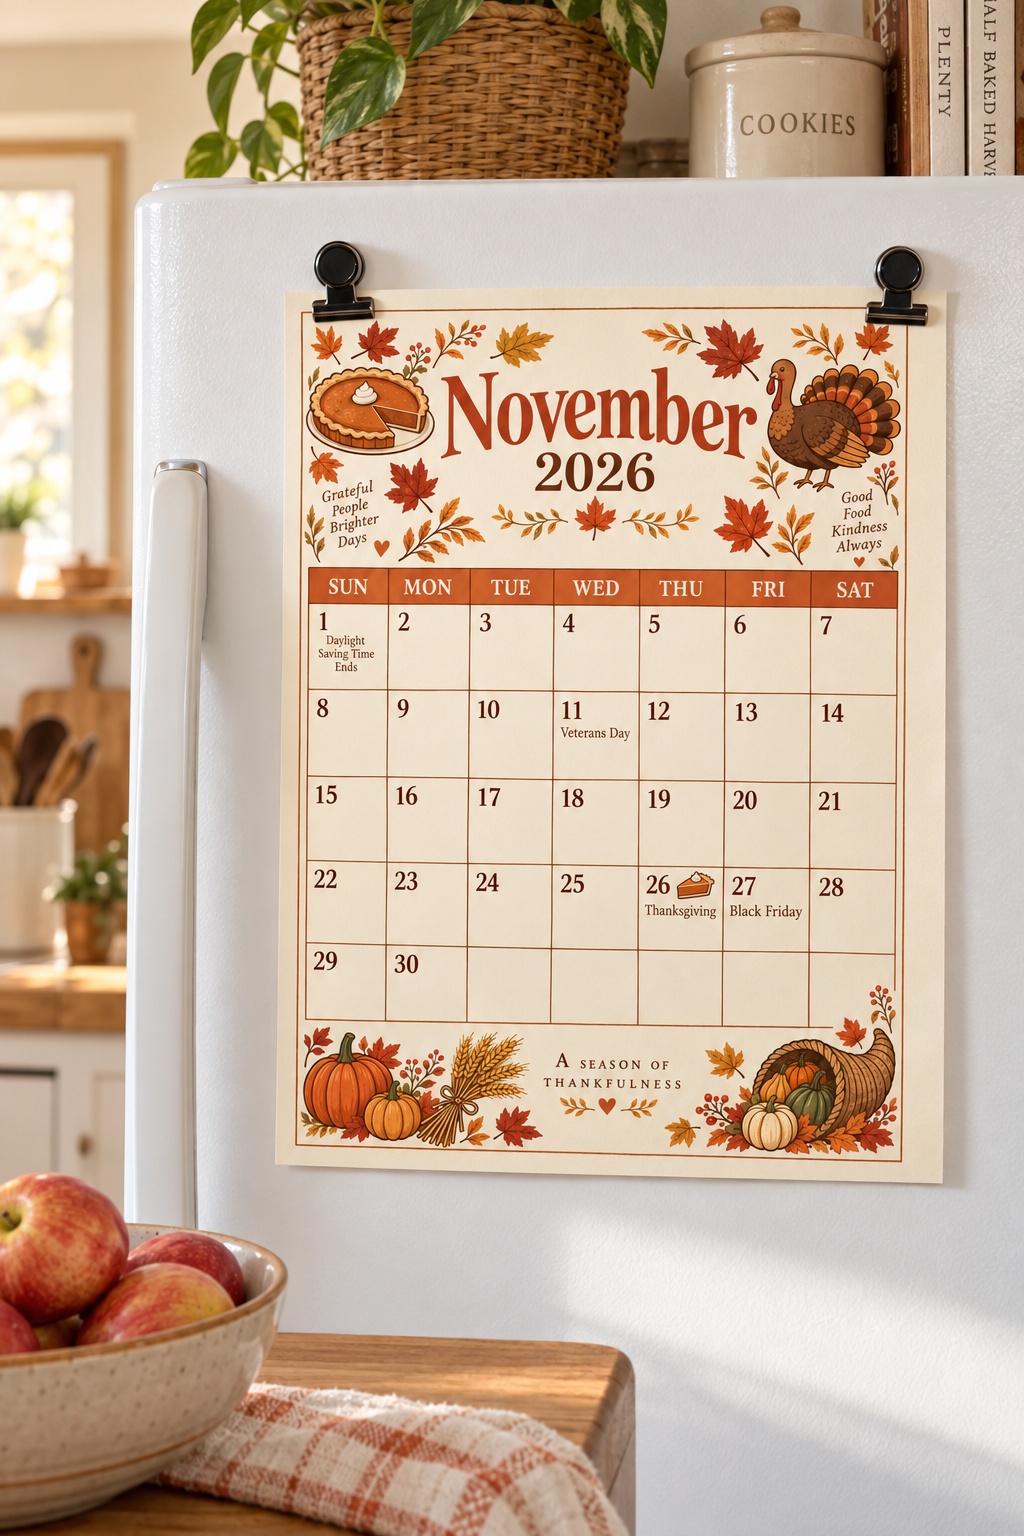
On the Fridge: Proper Magnetic Clips
Flat decorative magnets slide down a smooth fridge door under the weight of cardstock. A clip grips the paper instead of just pressing on it. These heavy-duty magnetic clips come in a pack of twelve, with scratch-safe backing, and two at the top corners hold a cardstock calendar firmly all month.
Clip at the two top corners rather than the centre. A single central clip lets the page swing and tear at the hole you did not mean to make.
→ Check the Magnetic Clips on Amazon
On the Wall: Washi Tape
For a wall or the side of a bookshelf, washi tape is the prettiest option and usually the gentlest. It is low-tack paper tape, so it holds a sheet of paper without the residue of regular tape. This neutral washi tape set has 39 muted, earthy colours, so there is always one that matches the calendar.
Tape all four corners, and fold a small tab under at one end of each strip so it is easy to peel off at the end of the month.
The honest caveat: no tape is guaranteed safe on every wall. On fresh or flat-finish paint, test a small piece somewhere hidden first. If you rent, removable, damage-free hooks and strips are worth knowing about too.
→ Check the Neutral Washi Tape Set on Amazon
Optional Extra: A Paper Trimmer
You do not need one. Every calendar here has a white margin so it prints completely on any printer.
A trimmer is worth having if you want to cut that margin off for a clean edge in a frame, cut a page in half for a smaller planner, or trim anything else you print. A sliding trimmer is safer and more precise at home than a guillotine. The Fiskars SureCut 12-inch trimmer has a wire cut-line that shows exactly where the blade will cut and a measuring grid for straight edges.
Why not just buy a borderless printer instead? Most home printers can only print borderless on photo paper, and in borderless mode they usually enlarge the image slightly and crop the edges — exactly where a calendar’s border sits. Printing with a margin and trimming it off gives a cleaner result on any paper.
→ Check the Fiskars SureCut Trimmer on Amazon
Quick Troubleshooting
| Problem | Most likely cause | Fix |
|---|---|---|
| Colours look dull | Paper type set to Plain, or low-brightness paper | Match the paper type setting; use brighter paper |
| Calendar is slightly small | Fit to Page is on | Switch to Actual Size / 100% |
| Edges are cut off | Borderless mode or wrong scaling | Turn borderless off, print at Actual Size |
| Streaks or faint lines | Partly clogged print head | Run the printer’s nozzle check and head cleaning |
| Ink smudges when you write | Not dry yet | Wait 5–10 minutes before writing |
| Cardstock jams | Too heavy for that tray | Use the rear feed if there is one, one sheet at a time, or a lighter card |
| Page curls on the fridge | Paper too thin | Switch to 110 lb index cardstock |
More Free Calendars
If you liked the test pages, there are full sets to print:
- 5 free November 2026 calendars in warm seasonal styles — soft oat, gratitude, bare branch botanical, plum and gold, and a cozy kitchen design for meal planning.
- 4 free October 2026 calendars in Halloween and fall styles — playful and aesthetic versions of both.
- 5 free October 2026 calendars in cozy autumn styles — terracotta, vintage Halloween, pressed botanical, dark academia and handwritten.
Or browse everything in the freebies and downloads section — new calendars go up every month.
Questions People Actually Ask
What is the best paper for printing calendars at home? For a desk or binder, a bright 32 lb premium paper. For a fridge or wall, 110 lb index cardstock. Check your printer’s maximum paper weight in gsm before buying anything heavier.
Can a regular home printer print on cardstock? Most can handle light to medium cardstock. The key is matching the paper type setting and staying within the printer’s supported weight. Printers with a rear straight-through feed handle thick card much more reliably.
Why do my printables look different from the screen? Screens glow and paper reflects, so prints always look slightly less vivid. The biggest fixable causes are the wrong paper type setting and dull, low-brightness paper.
Do I need a borderless printer for printable calendars? No. Calendars designed with a white margin print completely on any printer. Borderless modes usually crop the edges slightly anyway.
Is an ink tank printer worth it? If you print in colour regularly, usually yes. It costs more up front but much less per page, and printables are colour-heavy. If you print a few pages a year, a basic printer is fine.
How do I keep a printed calendar from curling? Use cardstock, let the ink dry fully, and clip it at both top corners rather than one magnet in the middle.
Final Thoughts
A home-printed calendar can look genuinely good. It just needs the right settings, slightly better paper, and a printer chosen by what its ink costs rather than what its box costs.
Start with the free part — Actual Size and the right paper type — and print one of the test calendars above. Then decide what to upgrade based on what you actually see on the page.
Product availability, features, specifications and included components may change. Check the current Amazon listing and your printer’s supported paper weights before ordering. Test tape on a hidden area of the wall first.
Small shifts, big vibes.