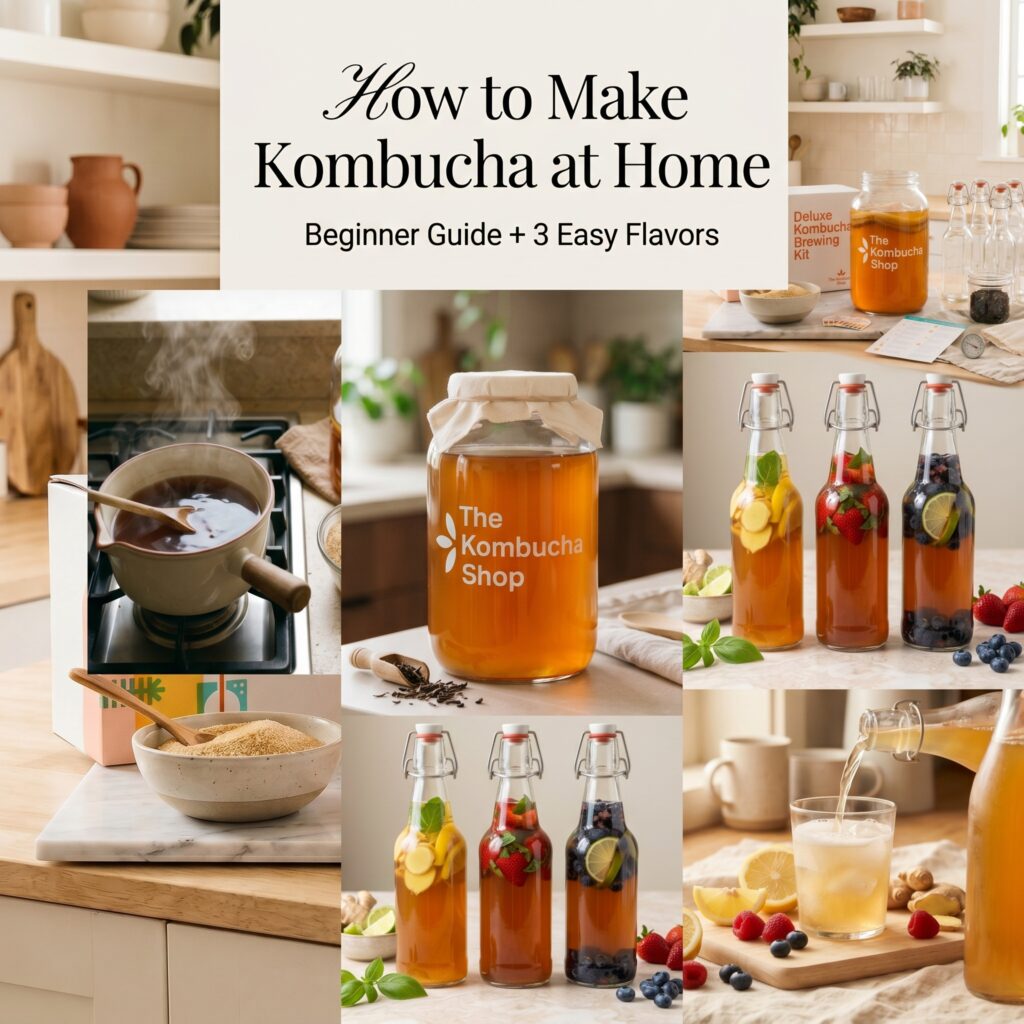
How to Make Kombucha at Home: A Beginner-Friendly Guide + 3 Easy Flavor Ideas
Disclosure: This post may contain affiliate links. As an Amazon Associate I earn from qualifying purchases, at no extra cost to you.
I love a wellness habit that feels a little bit extra, but is still genuinely useful. And homemade kombucha definitely fits that category.
If you’ve ever looked at a bottle of kombucha in the store and thought, wait, why is this tiny bottle so expensive?, same. That’s exactly what pushed me to start looking into making it at home.
The good news is that kombucha is much less intimidating than it sounds. Once you understand the basic process, it’s really just sweet tea, time, and a little patience. And once you get the hang of it, you can make your own batches, experiment with flavors, and turn it into one of those small home rituals that feels both practical and kind of fun.
In this post, I’m walking through how to make kombucha at home, what you need to get started, the possible health benefits people usually love it for, and three simple flavor ideas for your second fermentation.
If you’re a beginner, don’t worry — this version is meant to be easy to follow, not weirdly intense.
What Is Kombucha?
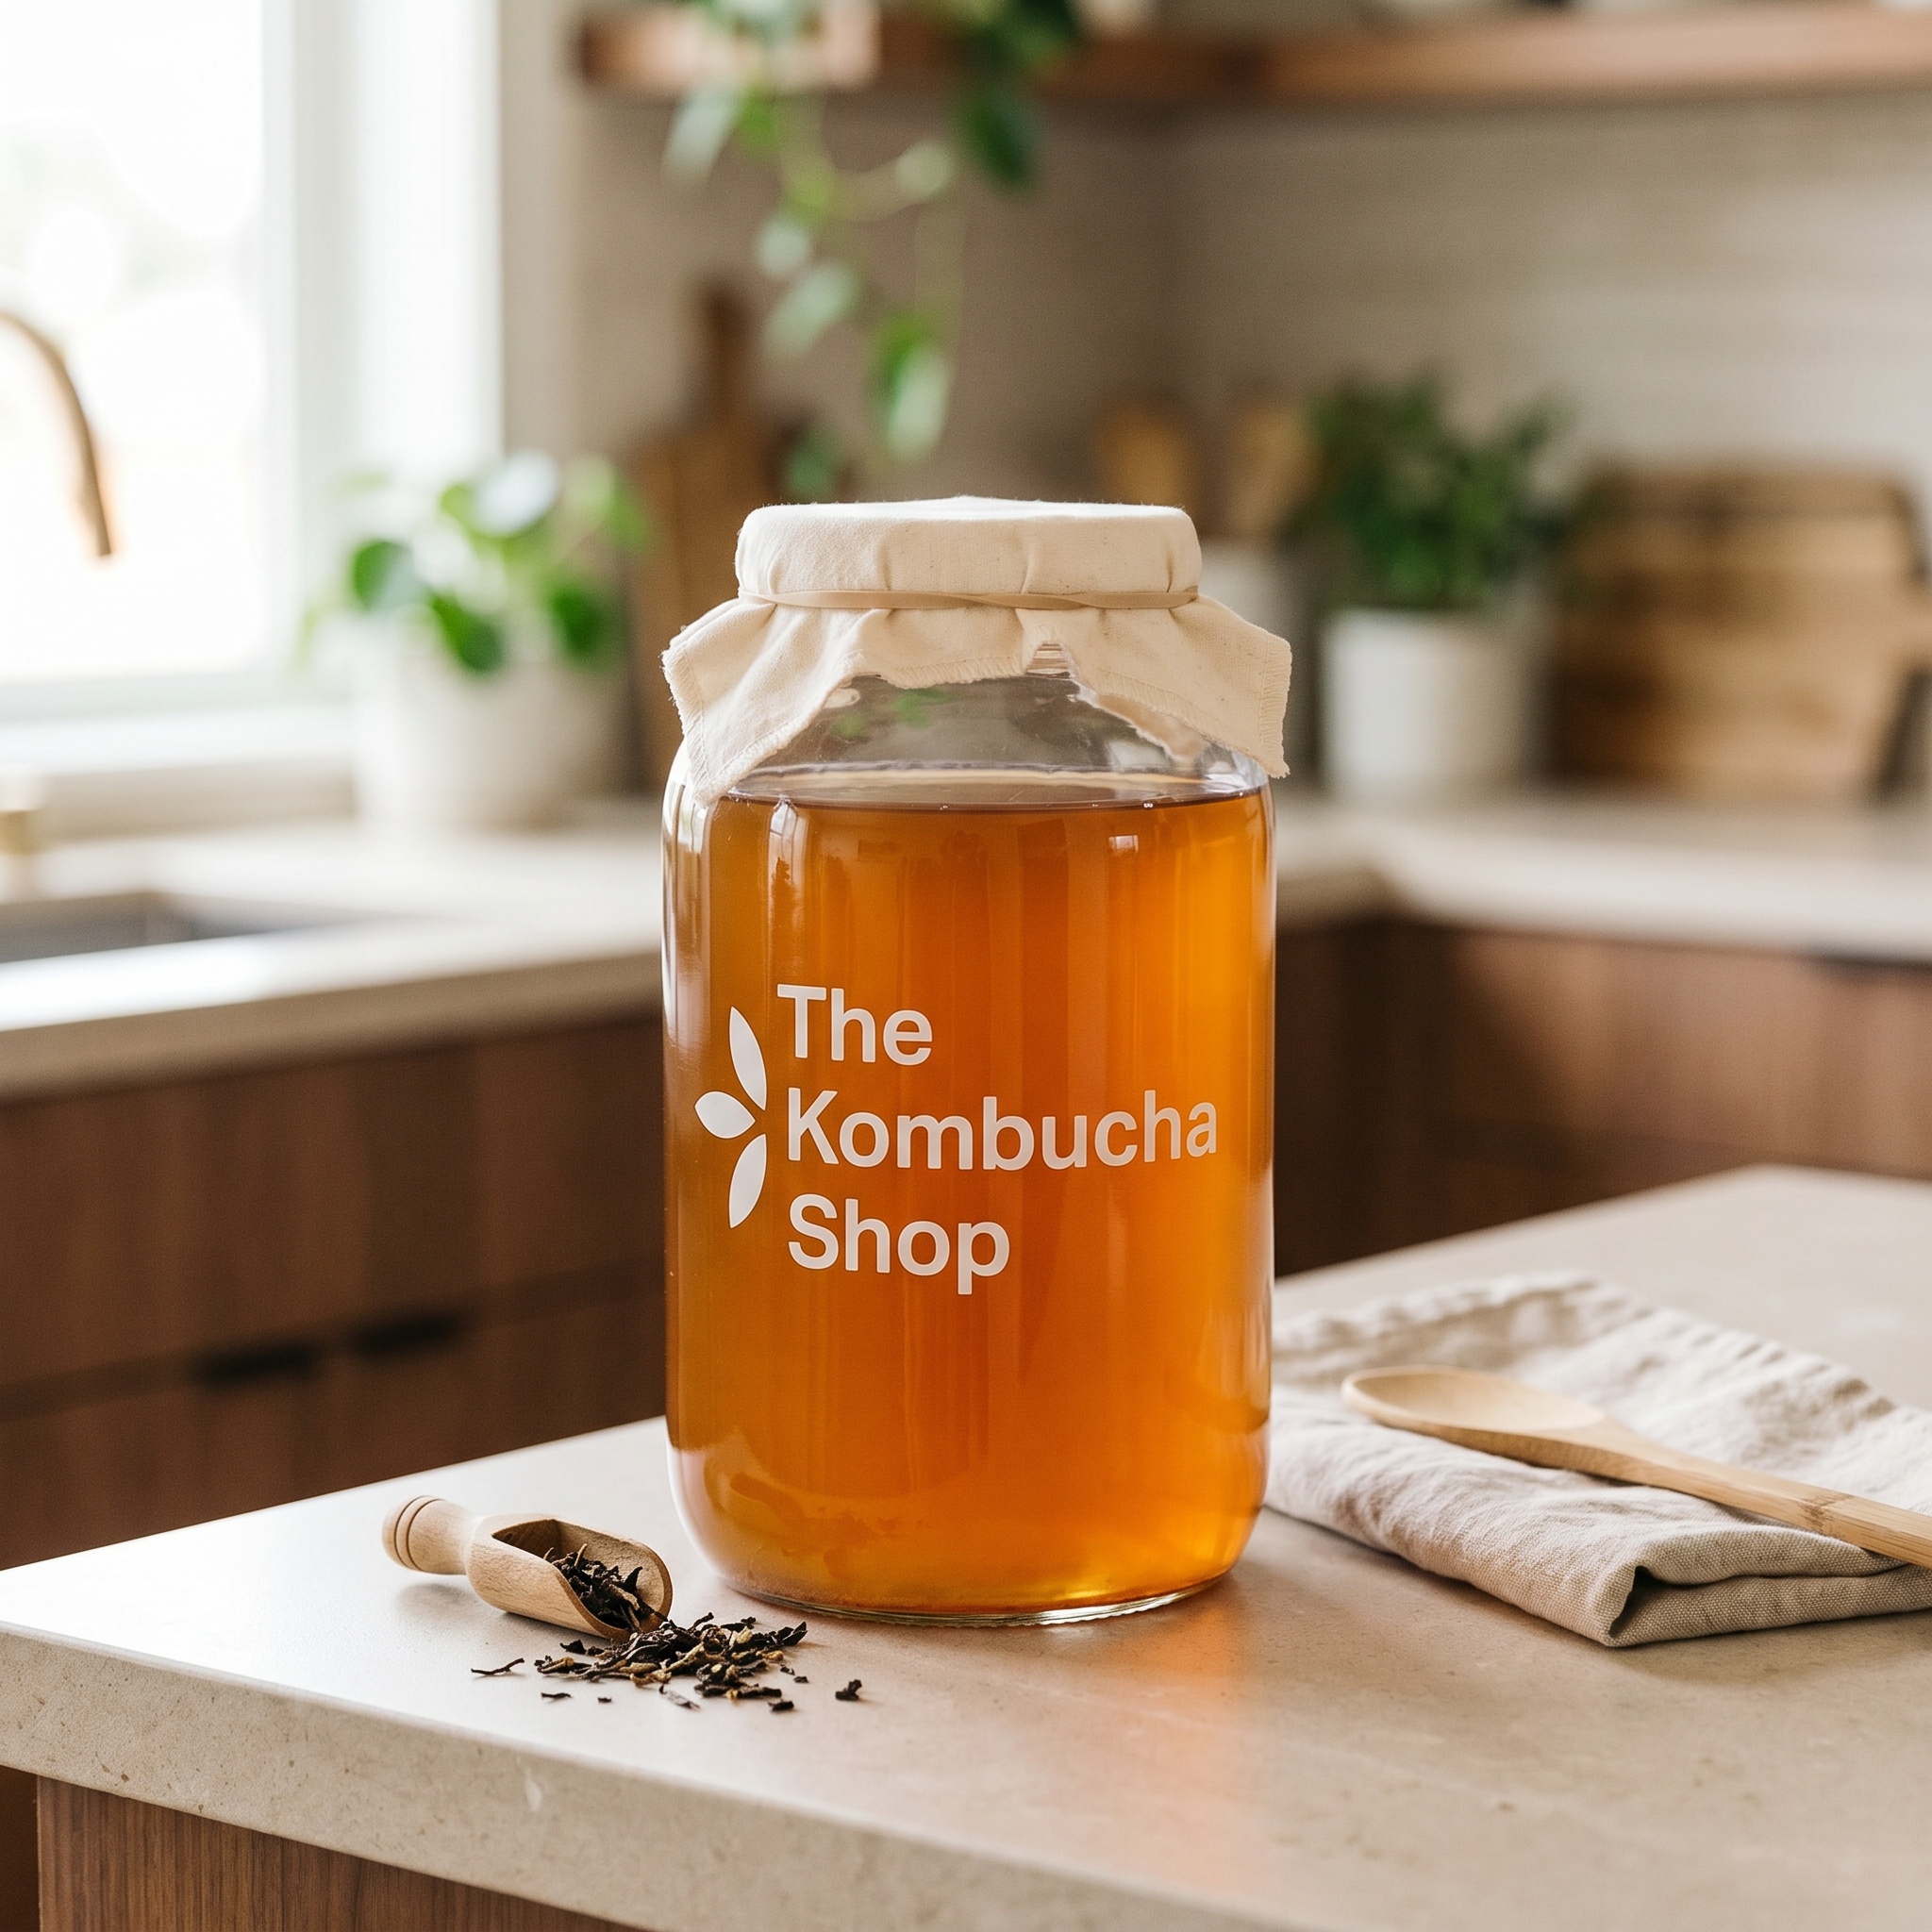
Kombucha is a fermented tea drink made with brewed tea, sugar, and a SCOBY. A SCOBY is a “symbiotic culture of bacteria and yeast,” which sounds deeply science-lab coded, but in practice it’s just the thing that helps the sweet tea ferment.
During fermentation, the sugar is transformed and the tea develops that slightly tangy, fizzy flavor people associate with kombucha. The end result is a drink that tastes refreshing, a little tart, and a little more interesting than plain tea.
You can drink it plain, but a lot of people love flavoring it during a second fermentation with fruit, herbs, or ginger. That’s where homemade kombucha gets especially fun.
Why People Love Kombucha
Kombucha gets a lot of attention in wellness spaces, mostly because it’s a fermented drink and people often associate fermented foods and drinks with gut-friendly routines.
While I’m not giving medical advice here, these are the reasons many people enjoy kombucha:
- it’s a fermented drink and may contain beneficial compounds depending on how it’s made
- it can feel like a lighter alternative to sugary sodas
- it’s made from tea, so it may contain tea-derived antioxidants
- it can be part of a more intentional gut-friendly routine
- it’s refreshing, fizzy, and easy to customize at home
That said, homemade kombucha is still something you want to make carefully and sensibly. Clean equipment matters, and if something looks or smells truly wrong, it’s always better to be cautious.
What You Need to Make Kombucha
You do not need a whole lab setup to start making kombucha, which is part of the appeal. A few basic tools are enough.
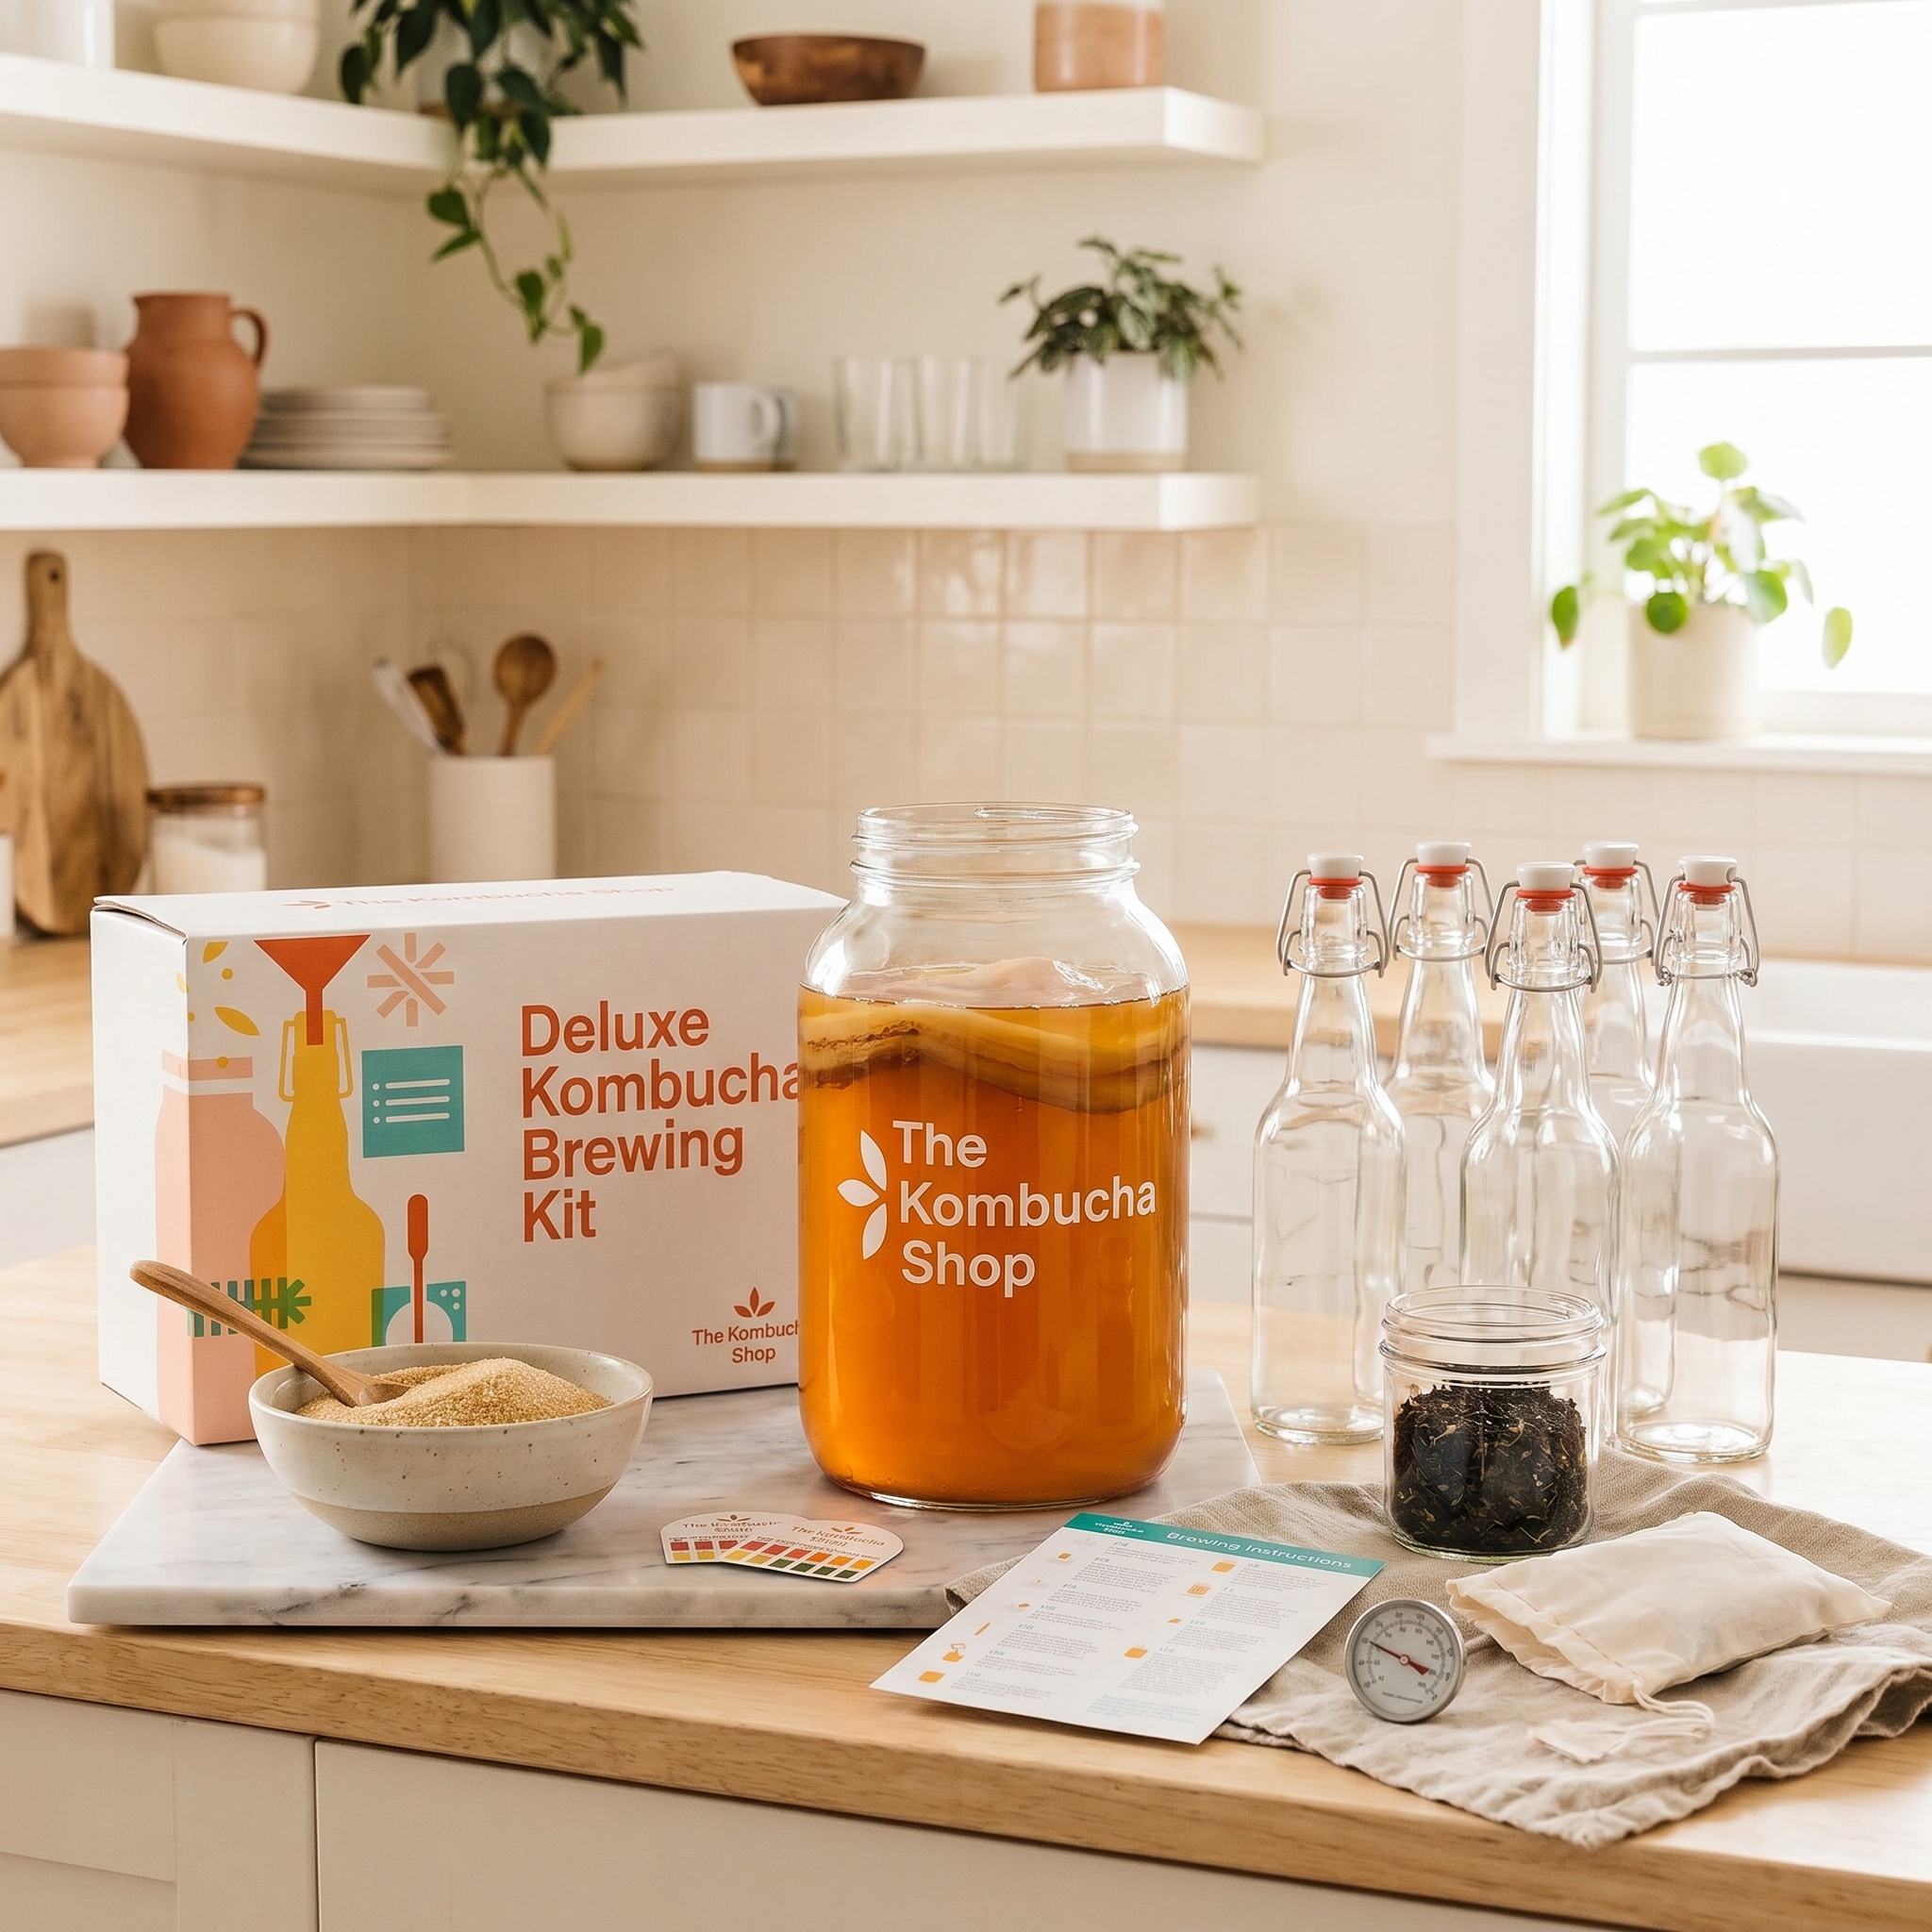
Here are the main supplies you’ll want:
- a kombucha starter kit
- a large brewing jar
- bottles for second fermentation
- tea
- sugar
- water
- a SCOBY and starter liquid
If you want an easy place to start, these are good options:
The brewing kit is a great beginner option because it gives you a more all-in-one setup. The brewing jars are useful if you want extra fermentation jars or prefer building your setup piece by piece. And bottles are especially helpful for the second fermentation, when you want to carbonate and flavor your kombucha.
How to Make Kombucha at Home
The process sounds more complicated than it really is. Once you do it once or twice, it starts to feel very manageable.
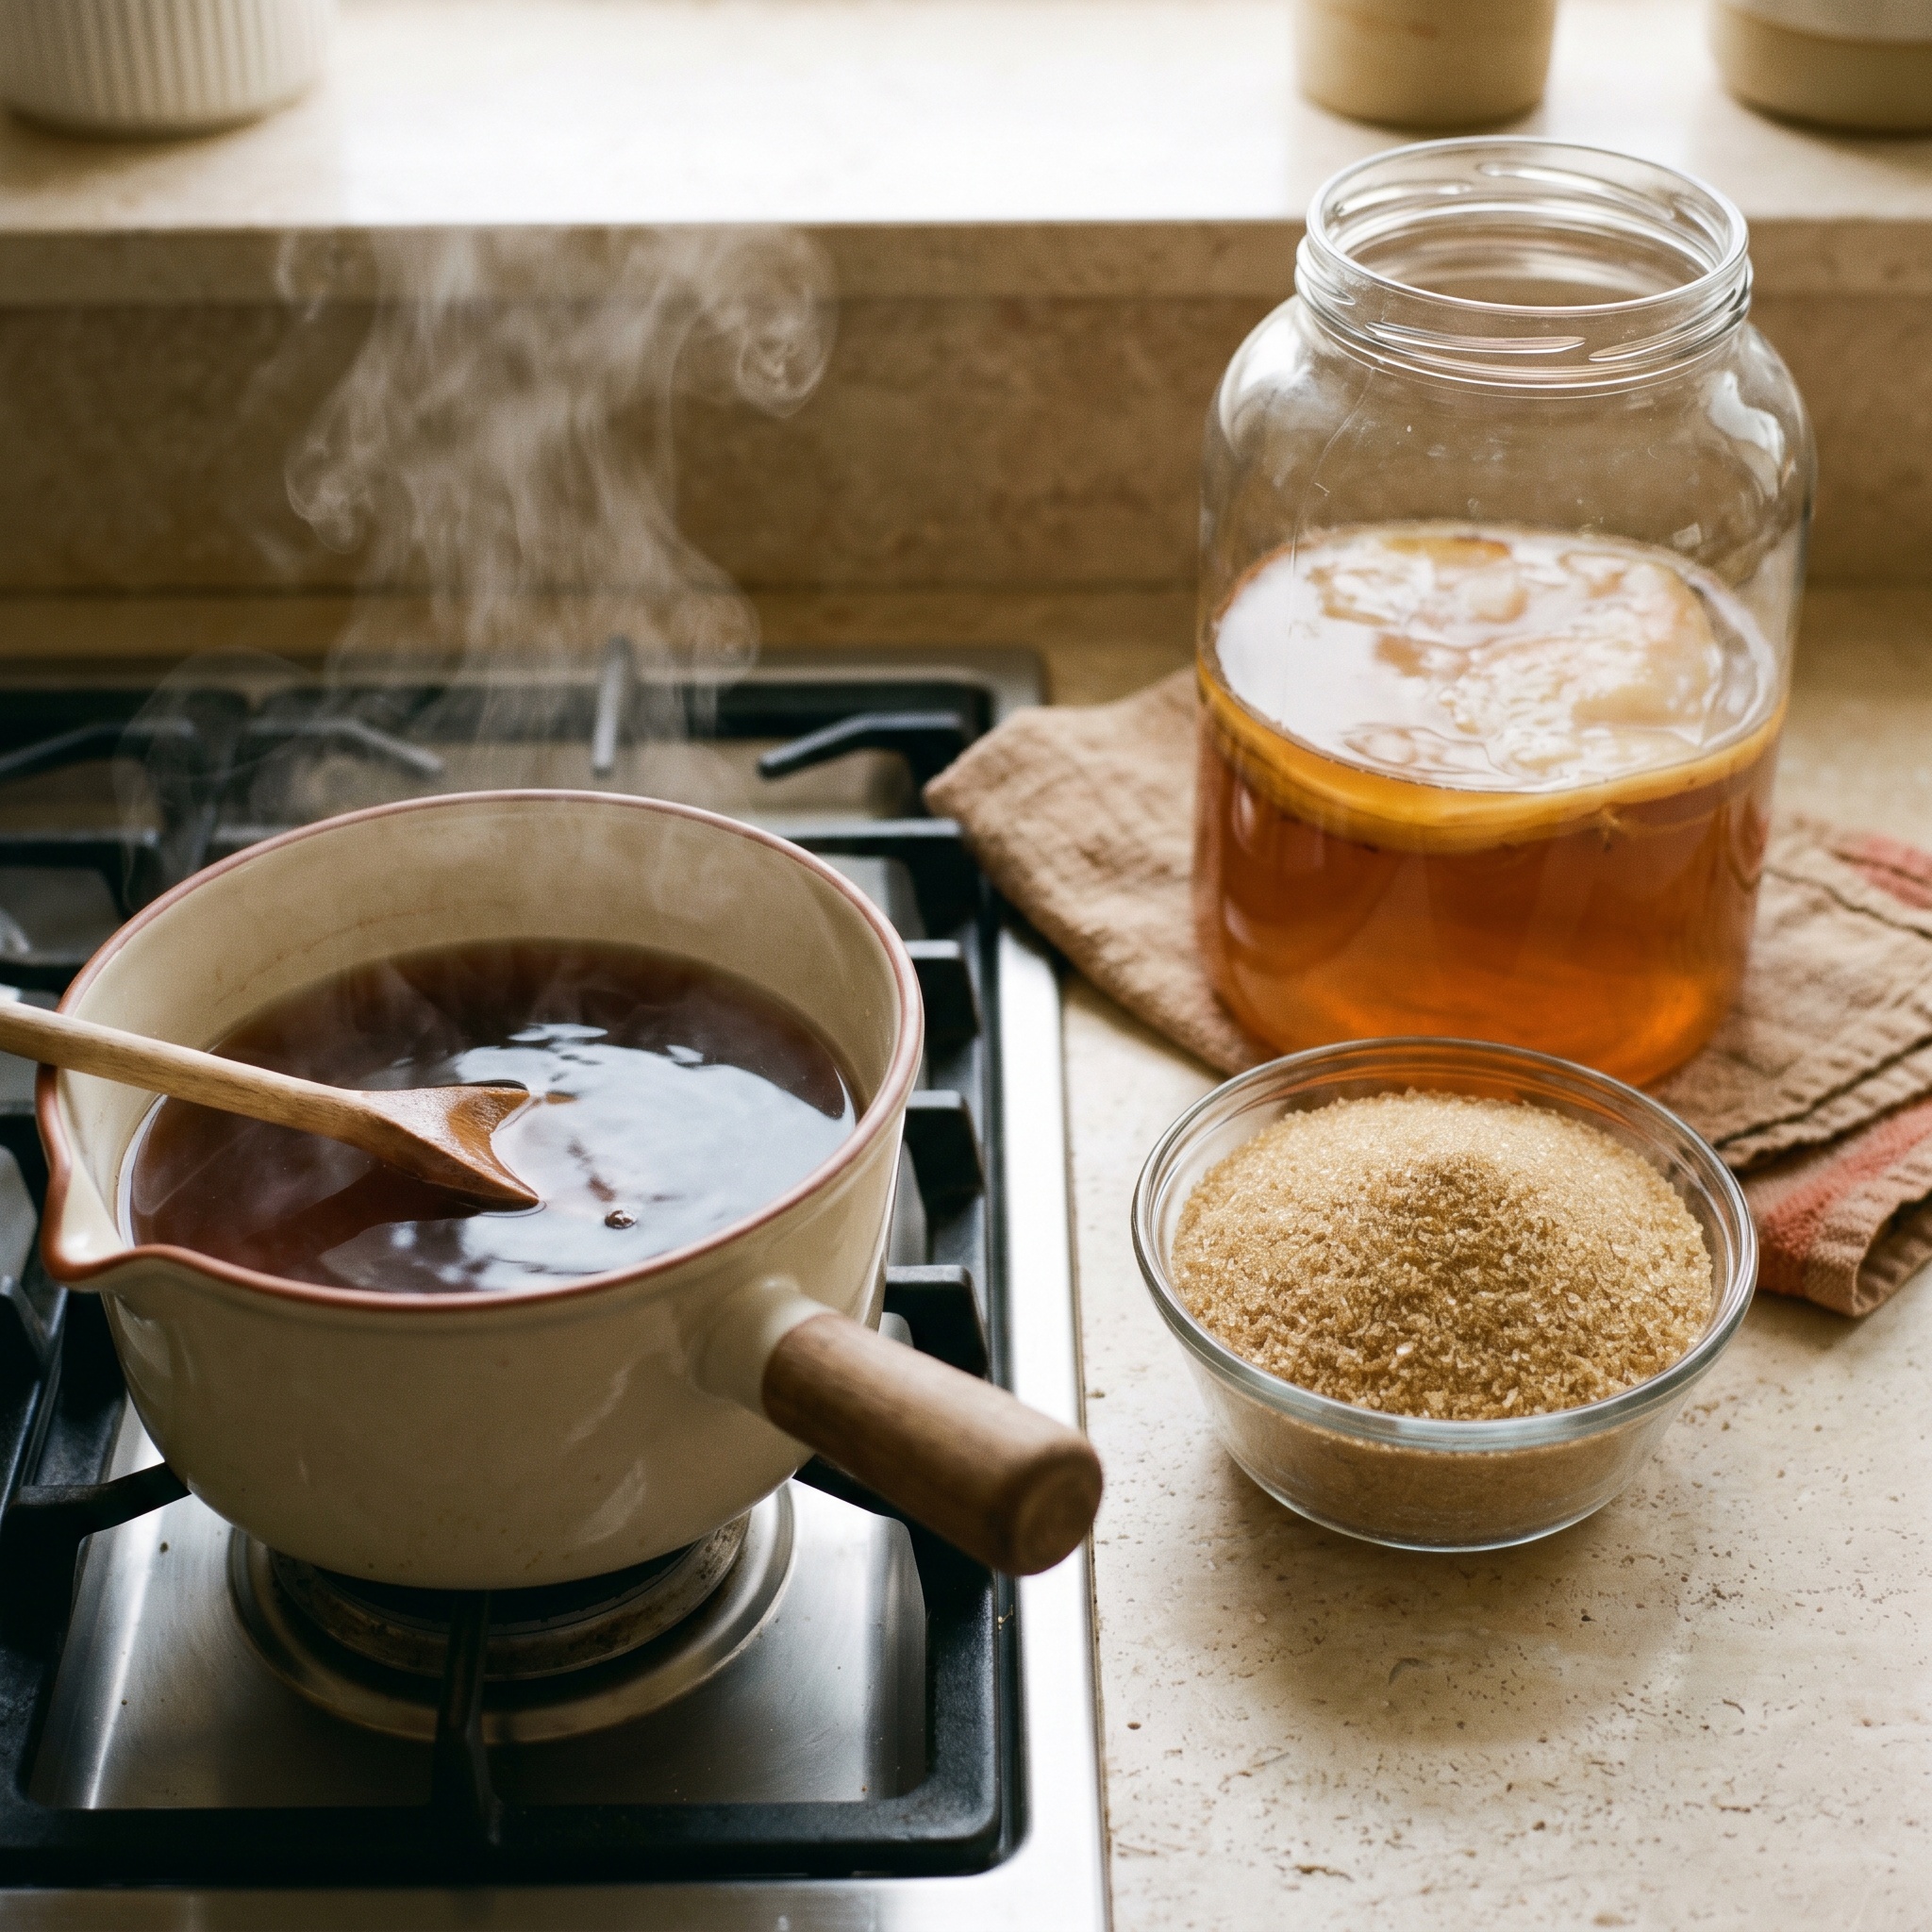
Step 1: Brew Sweet Tea
Start by making a strong batch of tea. Black tea is the classic choice, though some people also use green tea or a blend. Dissolve sugar into the hot tea while it’s still warm, then let the whole mixture cool completely.
This part is important: do not add your SCOBY to hot tea. It needs to be fully cooled first.
At this stage, your basic base is just:
- tea
- sugar
- water
The sugar is there for fermentation. You’re not just making sugary tea for fun — it helps feed the fermentation process.
Step 2: Add the SCOBY and Starter Liquid
Once the sweet tea is fully cooled, pour it into your clean brewing jar. Then add the SCOBY and starter liquid.
The starter liquid helps create the right environment for fermentation, which is why most beginner kits are so helpful — they take some of the guesswork out of this stage.
Cover the jar with a breathable cloth or the appropriate cover from your kit, and secure it so air can circulate without letting dust or bugs in.
Then place the jar somewhere room temperature, out of direct sunlight, and let it ferment.
Step 3: First Fermentation
This is the part where patience comes in.
The first fermentation usually takes around 7 to 14 days, depending on temperature and your taste preferences. Warmer environments usually ferment faster, cooler ones slower.
During this stage, the tea gradually becomes more tangy and less sweet. If you’re brand new to kombucha, tasting it around day 7 and then every day or two after that can help you figure out what flavor you like.
Some people prefer it sweeter and lighter. Others like it more tart and vinegary. Homemade kombucha gives you control over that.
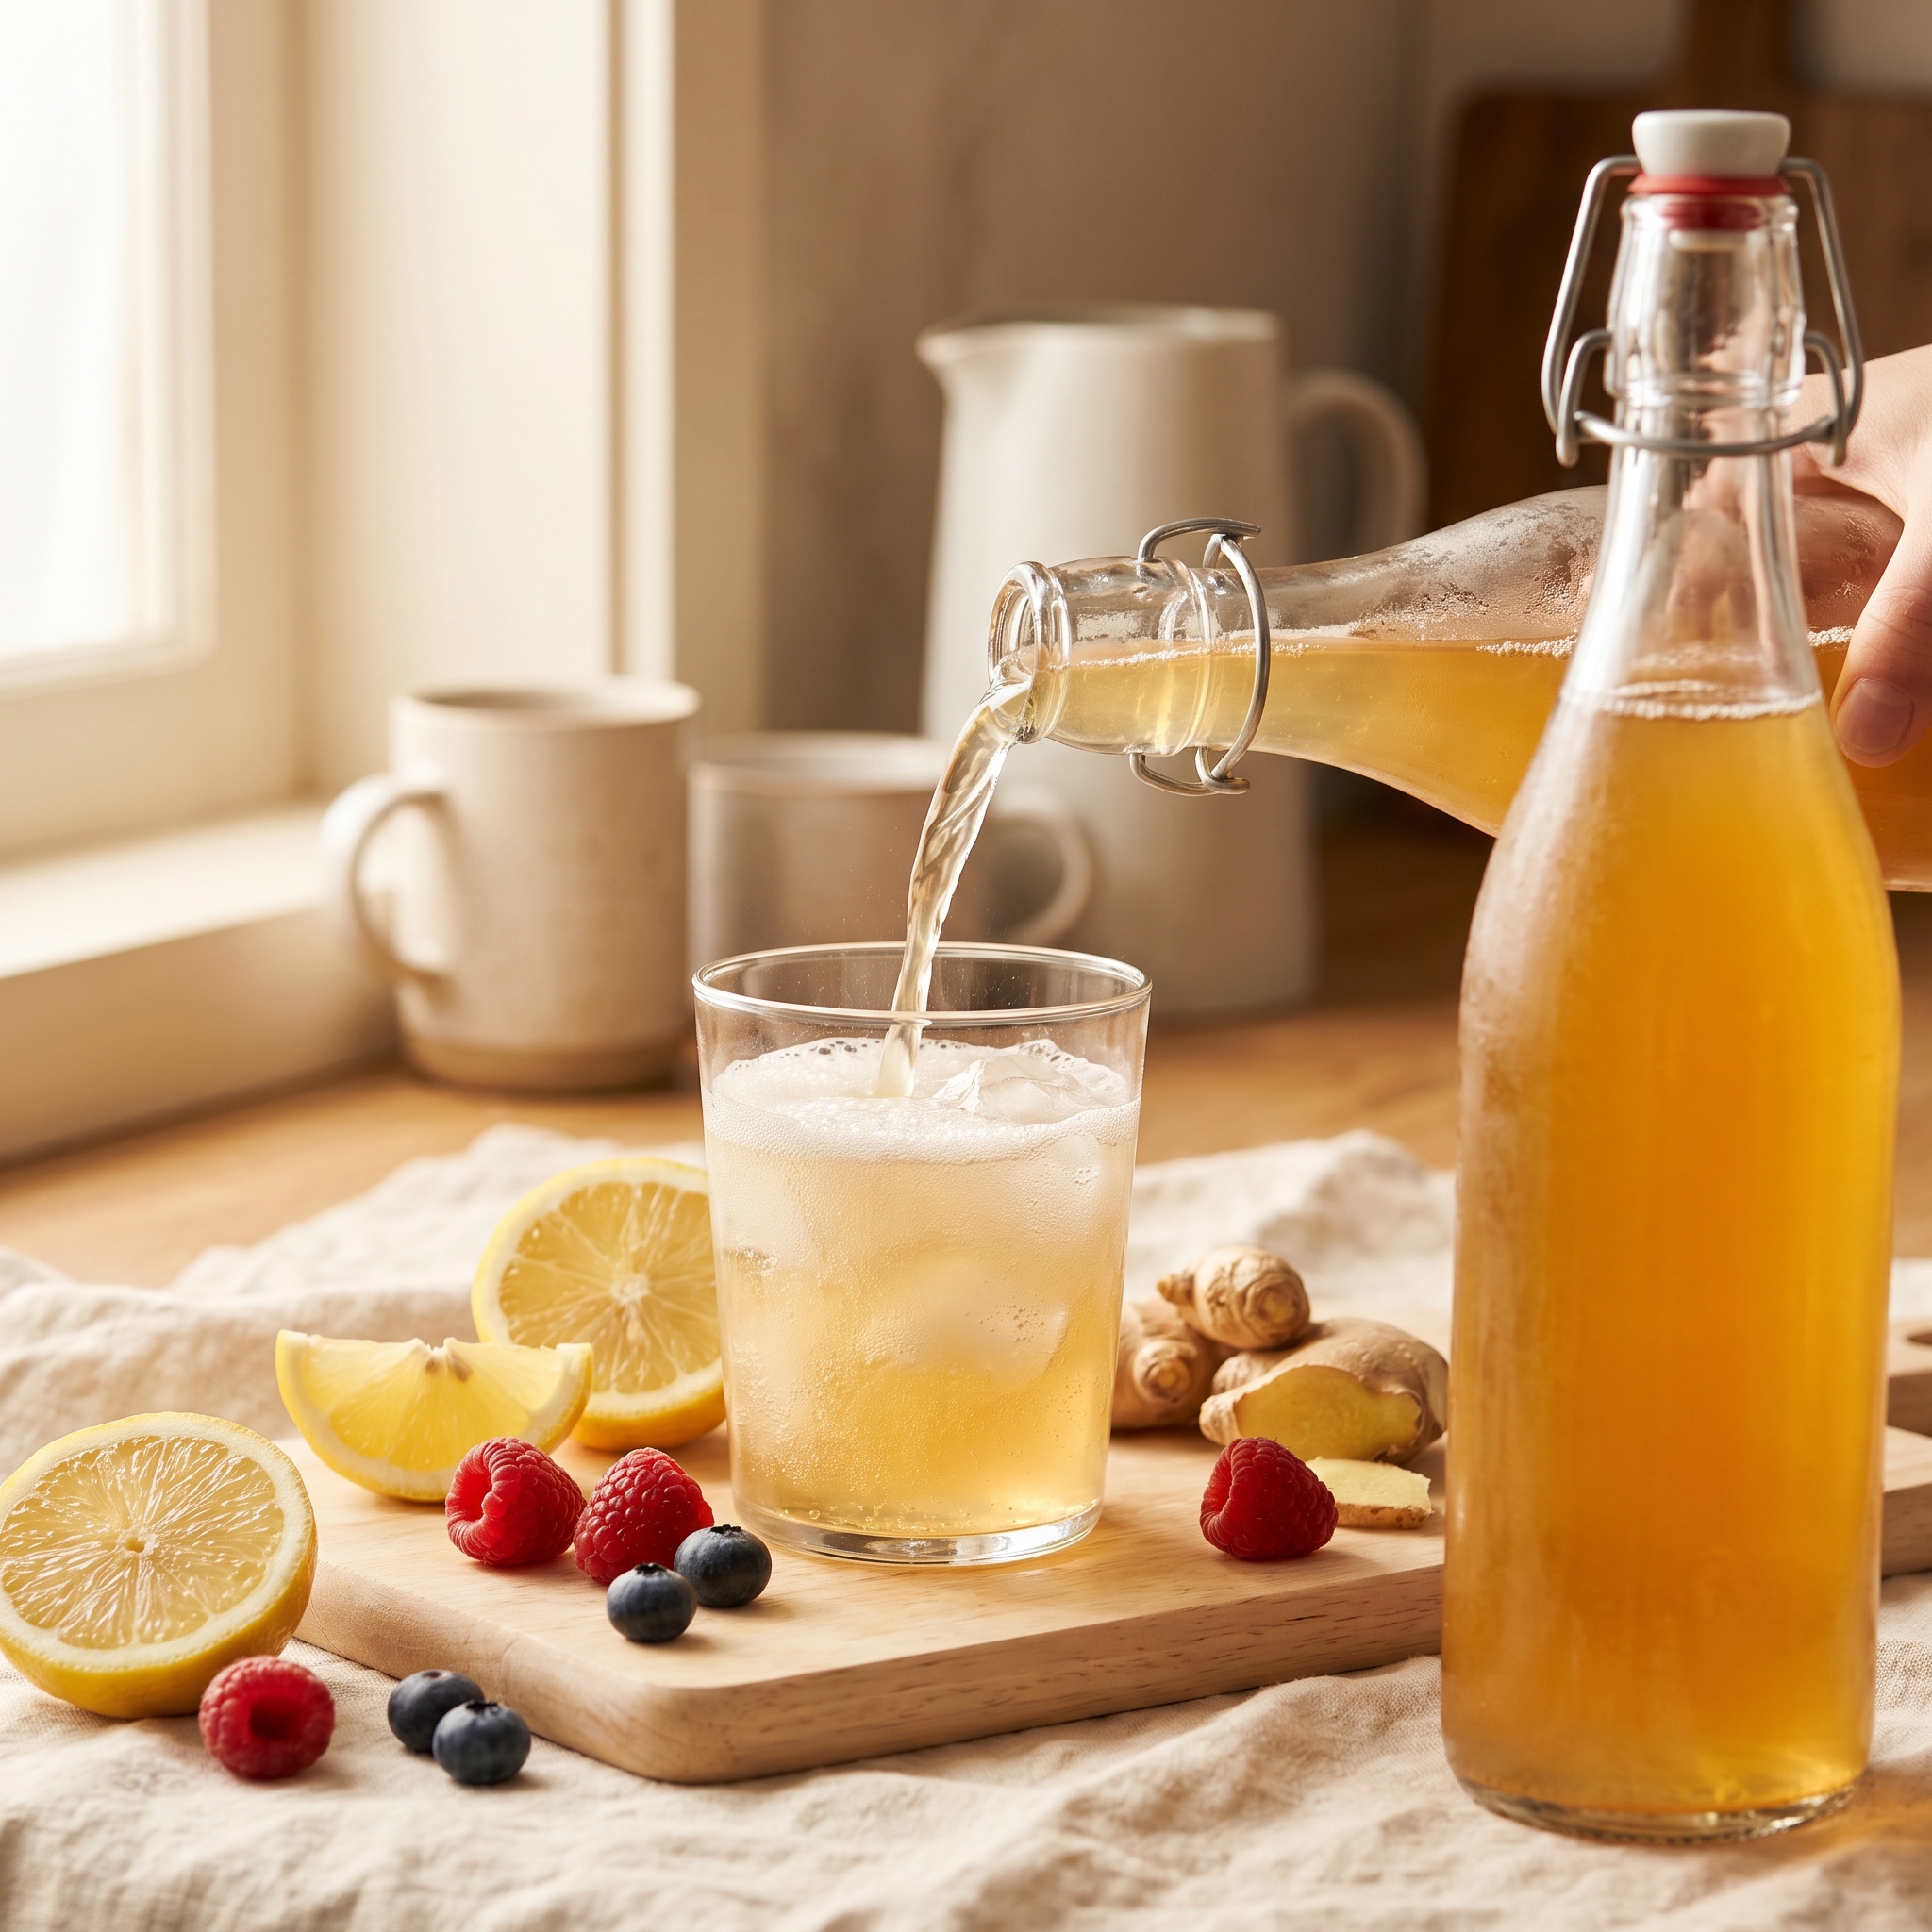
Step 4: Bottle It for Second Fermentation
Once your kombucha tastes right to you, it’s time for the second fermentation. This is where you bottle it, and this is also when you can add flavor.
Pour the kombucha into bottles, leaving a little room at the top. If you’re adding fruit, juice, herbs, or ginger, do that before sealing the bottles.
Then let the sealed bottles sit for another 1 to 3 days at room temperature. This is what helps develop fizz.
After that, move them to the fridge. Chilling slows fermentation and makes them much nicer to drink.
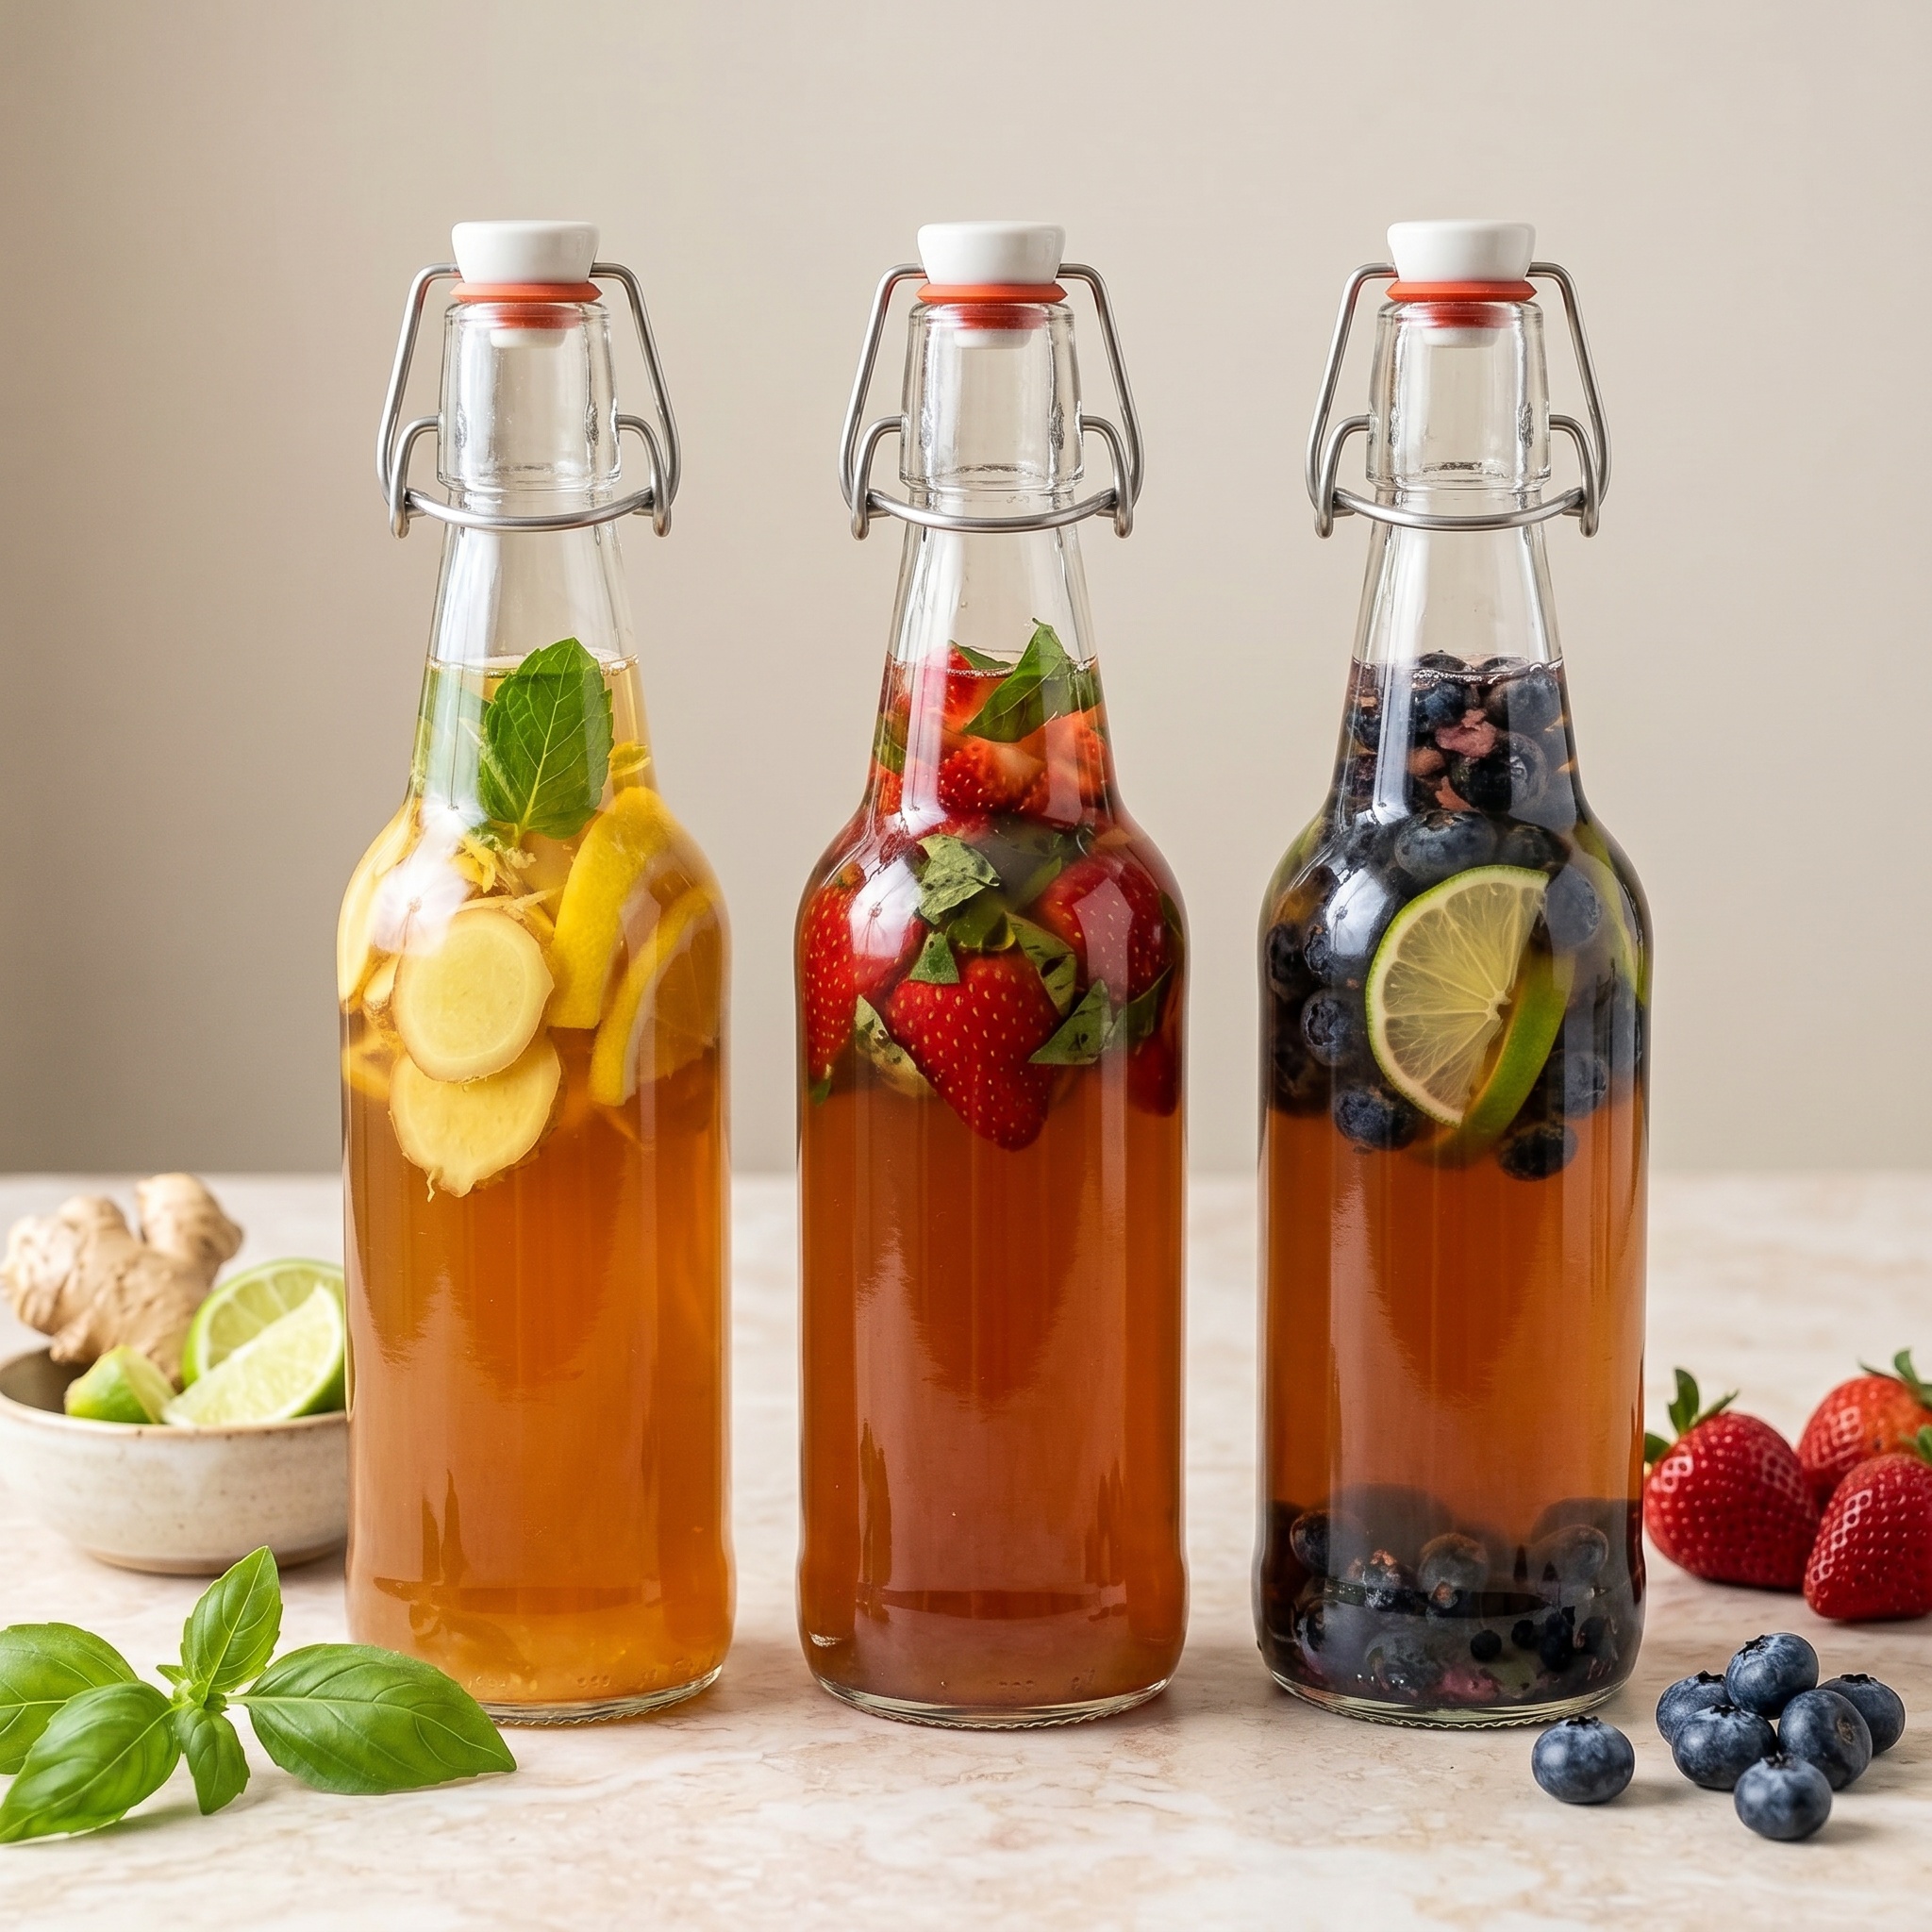
3 Easy Kombucha Flavor Ideas
This is honestly one of my favorite parts. Once the base is done, you can keep it very simple or get creative. If you’re a beginner, I’d start with flavors that are easy, fresh, and not too fussy.
1. Ginger Lemon
This one feels the most classic to me. It’s bright, fresh, and clean-tasting. Just add sliced fresh ginger and a little lemon juice or a few lemon slices to your bottle before second fermentation.
Why it works: it tastes refreshing and not overly sweet.
2. Strawberry Basil
This one feels a little more summery and pretty. Add sliced strawberries and a few basil leaves. The flavor comes out light, slightly fruity, and a little elevated.
Why it works: it feels special without being complicated.
3. Blueberry Lime
If you want something a little bolder, blueberry and lime is such a good combination. Add a few blueberries and a squeeze of lime juice or thin lime slices.
Why it works: it gives a nice balance of fruity and tart.
A Few Basic Kombucha Safety Tips
Because kombucha is fermented, basic cleanliness matters a lot. You do not need to be paranoid, but you do want to be careful.
- always use clean jars, utensils, and bottles
- let the sweet tea cool fully before adding the SCOBY
- keep the brewing jar out of direct sunlight
- if you see fuzzy mold, discard the batch
- if something smells truly unpleasant rather than tangy, do not drink it
- open second-fermentation bottles carefully, since carbonation can build up
Homemade kombucha should smell tart and tea-like. It should not smell rotten or alarming. When in doubt, it’s always okay to be cautious and start fresh.
Why Making Kombucha at Home Is Worth It
For me, homemade kombucha is worth it for three reasons.
First, it can be more cost-effective over time than buying bottle after bottle at the store.
Second, you get to control the flavor. You can keep it lighter, tangier, fruitier, or more classic depending on what you like.
And third, it turns into one of those simple, satisfying kitchen rituals that makes home life feel a little more intentional. It’s not just about the drink — it’s about the process too.
If you already like fermented foods, gut-friendly drinks, or slow little kitchen projects, kombucha is a very fun one to try.
Final Thoughts
If you’ve been curious about making kombucha at home, this is your sign that it does not have to be complicated.
Start with a simple setup, keep the process clean, and don’t put pressure on yourself to make the world’s most artisanal batch right away. The first goal is just to make something drinkable, enjoyable, and fun enough that you actually want to do it again.
If you want to keep things easy, start with a good beginner setup:
Then keep your first flavor simple — ginger lemon is a great one — and let the rest evolve from there.
Homemade kombucha is one of those habits that feels just a little bit wholesome, a little bit pretty, and a lot more approachable than it seems at first.
Small shifts, big vibes.